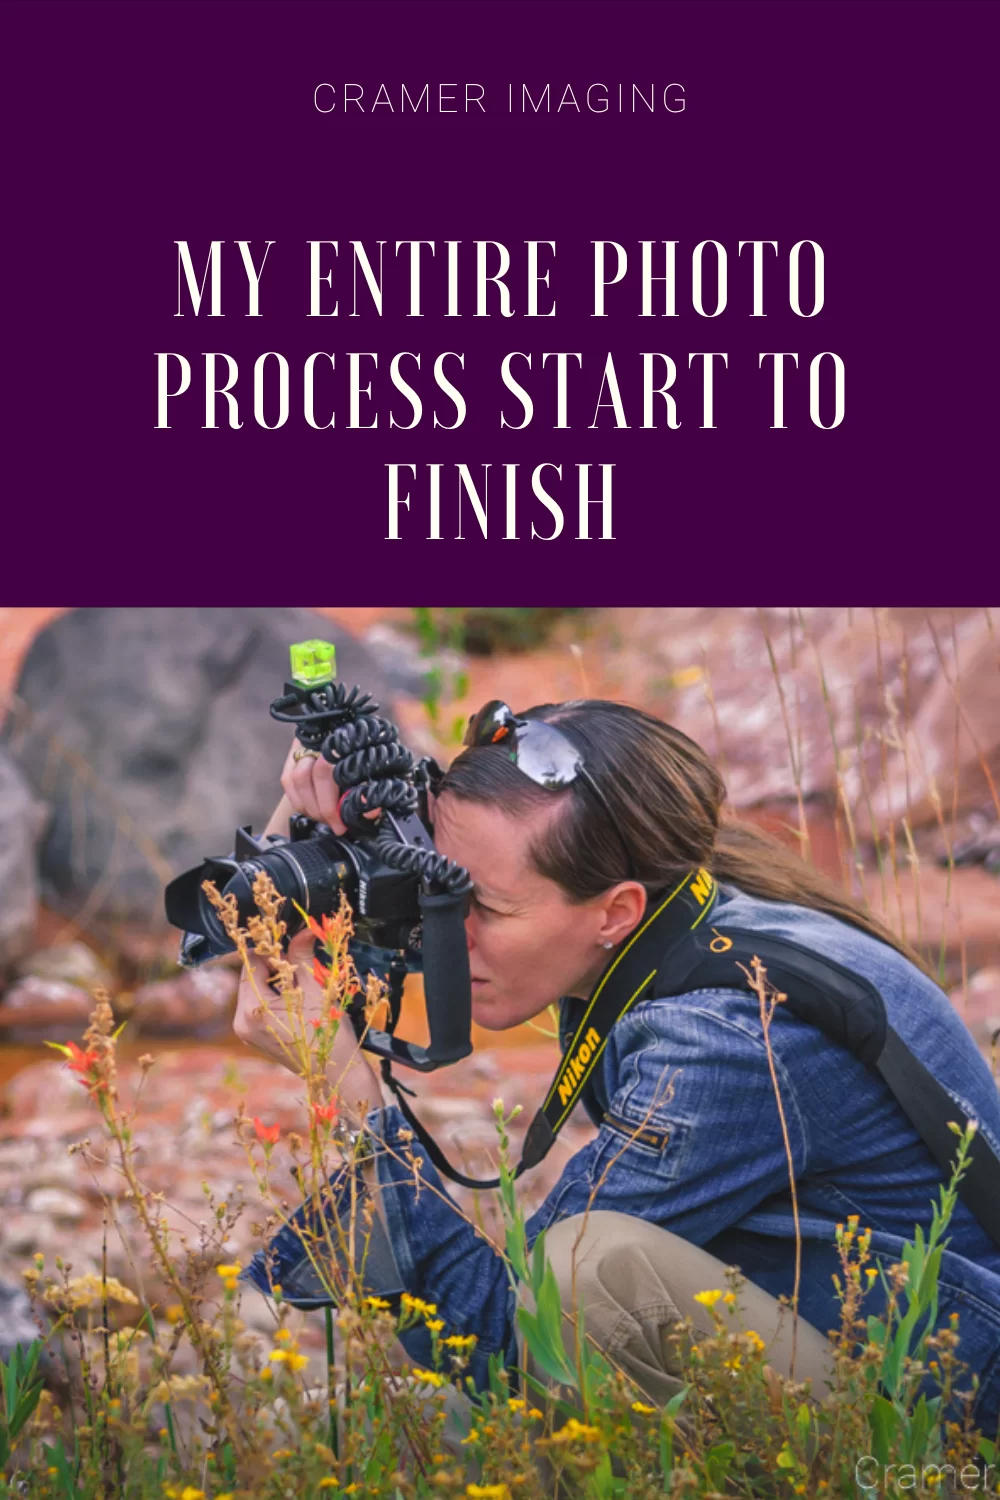
If you’ve been following me for a while now, then you should know that I’m a landscape photographer. I think I make it obvious enough. However, have you ever wondered how I create such amazing landscape photos? There are several major steps in the photo process. I’m going to break them down for you today.
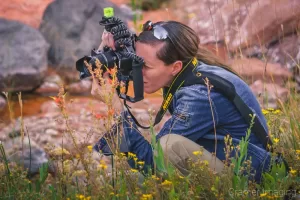
Firstly, I must decide on a location to photograph. Since I’m a landscape photographer, my subject is a location, not so much an item. This means I must travel to the location rather than set up a make-shift studio in-home. Also, I need not worry about recruiting people as I don’t photograph people in my shots.
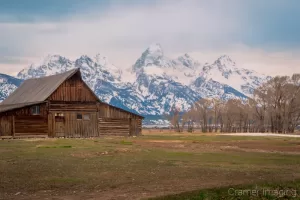
I have a list of local spots I can go. Also, I create and maintain a list of new places I want to go. Slowly, I whittle away at the new places list. Here are a few of my usual fallback locations.
Next, I must research the location if I’m choosing someplace new. I need to learn what compass direction it faces. This affects the time I photograph the location. I also need to know when to access the area. Sometimes roads are closed. Is there a hike? What is the hiking distance and the difficulty of the trail? How long will the hike take? What amenities are available or not available near the trail? There’s lots of practical research involved. If I’m already familiar with the site, then I require less research beforehand.
Many times I run into seasonal questions during my research. Some locations close for snow and poor weather. They’re simply not options during winter or monsoon flooding. There are other seasonal questions I investigate as well. Take spring flowers for instance. There’s also a small window of time in which to photograph flowers. Am I in the window or has it passed? How about autumn leaves or fleeting winter snow? Is the Milky Way visible? These are all research questions I face depending upon the kind of landscape photo I wish to take.
With these research questions answered, I stand a better chance of walking away from a photo shoot with the kind of image I want. The internet, along with travel maps/guides and books, often gives me the answers I seek. Oftentimes, I also figure out a general spot I want to stand before I even take the next step below. This research is vital to my landscape photography and my photo process.
Next, I plan a scouting trip. I must learn precisely where I want to stand. Internet research will only get me so far when selecting my spot to stand. I need to see the terrain for myself and figure out when and where I want to be for the photo I’m seeking. I’ll take several test shots while out in the field. These tests often help me decide framing and other such matters as well.
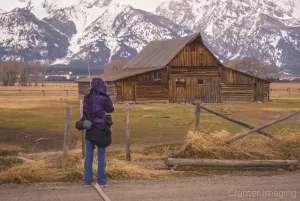
Sometimes I get a shot during the scouting trip but that’s a rarity. I don’t count on walking away with a perfect gallery hanger of a landscape photo on a scouting expedition. While it can happen (below are a couple examples of such), that’s not what these trips are about. These scouting trips are about me putting my boots on the ground and acquainting myself with the location. With that information, I then complete my research stage. I move on to planning the shoot itself.
My next step is planning and making my actual expedition for the landscape photo(s) I want to take. I must make that hike or trek for real this time (meaning for the landscape photo I’ve envisioned). This is where my preparation and research finally crystallizes.
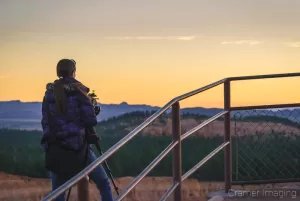
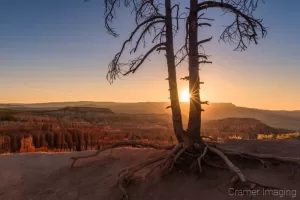
Sometimes I get the shot I want. Sometimes I must make more than one trip to get what I want. Here are some photos where I got the shot on the first expedition.
Here are some where I needed to return multiple times (at least 1 more time) just to get what I wanted.
Once I finally have the landscape photo I want, I must sit down at my computer and go through the process of making it look its best. I must process it up. That’s a process of making global and specific adjustments to enhance the photo. It can take minutes but mostly takes at least an hour, from start to finish, to cull and process the photos from a specific trip. Not every trip yields something I can work with either.

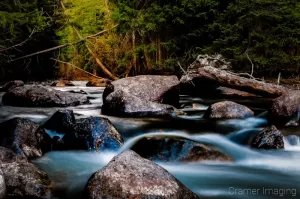
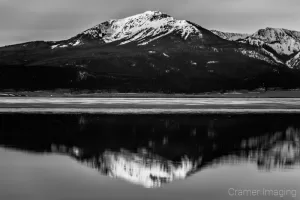
I know exactly what I want to do with some photos. Others take some tweaking before I know what I want to do. Still others need several revisits before I finally get them right. I’ve sat on photos for days, weeks, months, and even years before finally making them look their best. These below are a couple examples of the last kind.
Once I have my new landscape photo(s), I’m still not done yet. Finally, I must write a blog post and prep the photo(s) for social media. If I plan on selling prints of the new photo(s), then I face extra steps of e-commerce preparation and integration. Also, consider that Facebook, Pinterest, Instagram, etc. have their own requirements for display and e-commerce. I want to time publication there with the release of my blog post so I must schedule these posts as well. It’s several hours of work there, mostly in writing the blog post.

All of this preparation, research, and work creates amazing landscape photos for you to enjoy. There really is MUCH more to it than simply clicking a shutter button. As you can see, I put a lot of time and effort into my landscape photography. Now that you know the entire photo process, from start to finish, I hope you’ll look at my photos as the art they truly are.
Looking for a new image for your home or office? Ready for something fresh? Check out my online store. You’ll find beautiful landscape photos like these depicted and more. They’re available framed or unframed. There are even 3 different frame options available for your convenience.

Receive monthly updates in your inbox from us.

Join our email-only photo of the week club to get the full stories behind how we captured our favorite fine art landscape photos.
We respect your privacy
No More Results