An important part of displaying a picture on the wall is presentation. While not all pictures require frames, many do. So, what do you do when you need to protect the image from picture frame glass? What do you do when the picture has unusual dimensions? It’s simple you use a mat. For those inexperienced in such matters, your next question is often “how do I position the image inside the mat?” That’s what we’re discussing today: how to mount a picture in a mat.

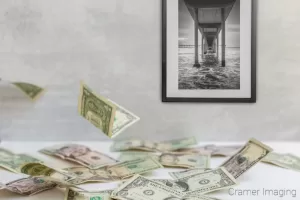
So, let’s start things off with a bit of quick information. Many pictures out there come in “standard sizes.” This means that you can reliably shop for a mat and picture frame pre-made for the job. Even focusing only on the mat, depending upon the size, there might be many different options available for you. Check out this article on choosing the right mat for your picture for more information. If you want to display an image with more custom dimensions, you’ll need to acquire a custom cut mat or cut it yourself. We won’t go into that process here today. Instead, we’ll assume you already met the requirement of choosing the mat (including cutting the hole). Now, you need to mount the picture of your choice in it.
Many times, you’ll find that a mat will only offer a front. Perhaps it will be a single or a double mat, but there won’t be a back. Landscape vs. portrait orientation won’t matter. The approach is the same.
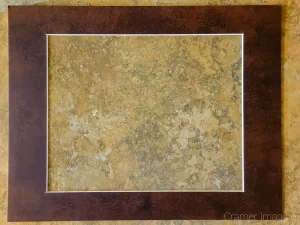
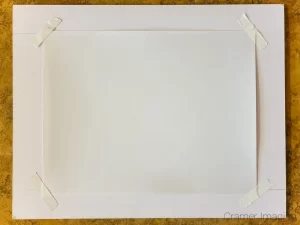
The lack of a mat back will determine where you can attach the tape for mounting. You will probably choose to tape the 4 corners to the back of the mat as depicted below. The best approach to this mounting method is to tape a single corner in place while facing up. Then, flip the whole thing over to attach the rest. Always double check to make sure things centered in the window properly before you call the project complete.
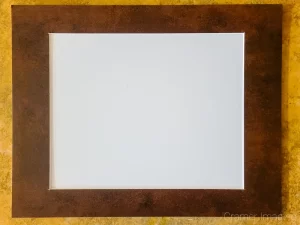
With this option of mounting your picture, you will rely more heavily upon the frame to provide support from the back of the frame. Also, consider whether or not the the frame backer is acid-free or not. If not (often the case with cheap frames), then the acid will eventually leach into the image and discolor it. Learn more about the importance of acid-free here.

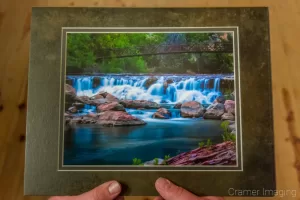
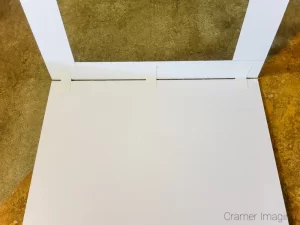
Your other option to mount a picture in a mat is a mat with a back. This is much easier when you make the front and the back of the mat hinged. You use a slightly different approach with this style of mat.
With a back, you simply attach the picture to the bottom/back piece instead of the backside of the front with the window cut. I know this phrasing is a bit awkward, but it’s true. Don’t forget to point the acid-free white side of the mat board in towards the image. Check out the example below.
You flip the front over the top of the picture and center the image where you want it in the window. Do this BEFORE you tape the picture down. It will make things much easier.
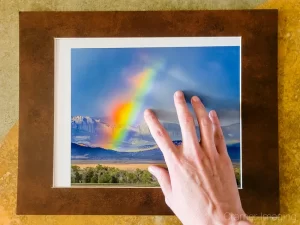
Then, once you’ve positioned the picture properly in the window, you flip the front mat back up and tape the image down to the back. Do double check that it’s still in place properly just in case things shift during the process. It seems unlikely, but I’ve experienced that problem before. It never hurts to double check.
Now, you can easily tape the rest of the front mat to the back mat for a complete package. Hinge the additional tape or turn it into a loop. It doesn’t matter much.
In conclusion, mounting a picture inside a mat isn’t difficult at all. It simply requires the right tools and setup. With proper preparation, this job should take only minutes. So, now that you know how, just how many pictures are you going to go out and mount in mats? Please share your results in the comments section below.


Receive monthly updates in your inbox from us.