Are you looking to create something new in your photography? Have you tried adding symmetry into your photography? Do you know how to? It’s actually quite simple with the right settings and foresight. So, let’s talk about how to create symmetrical photos for your portfolio.

Symmetry is about having a mirrored (or close to mirrored) appearance on both sides of a real or imagined line. Oftentimes this mirrored point of view creates an aesthetically pleasing image. So why wouldn’t you consider symmetrical photos? Since that’s the subject matter today, let’s discuss how to make symmetrical photos.
1. Seek Out Natural Symmetry
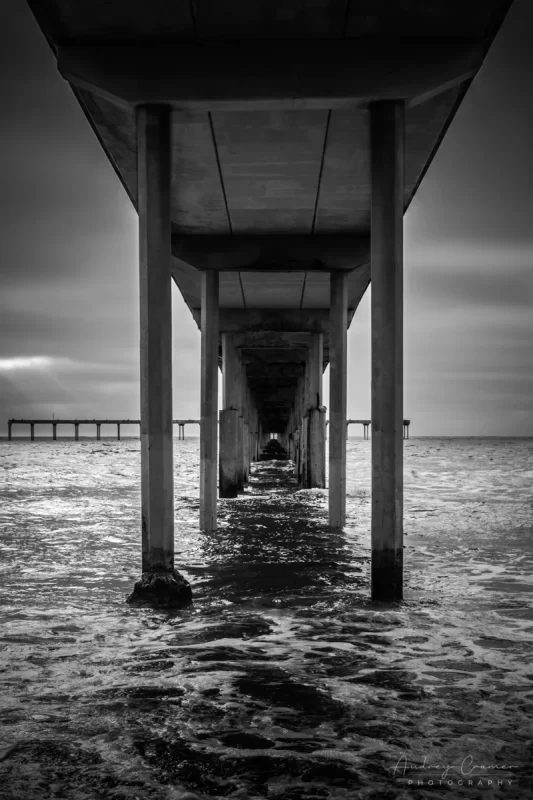
The very first thing to do when creating symmetrical photos is to seek out symmetry in the scene in front of you. Oftentimes, you will find it. Seek out elements which are naturally symmetrical. These include buildings, bridges, trees, docks, and more. Check out these options which I captured. Observe the natural symmetry which they display.

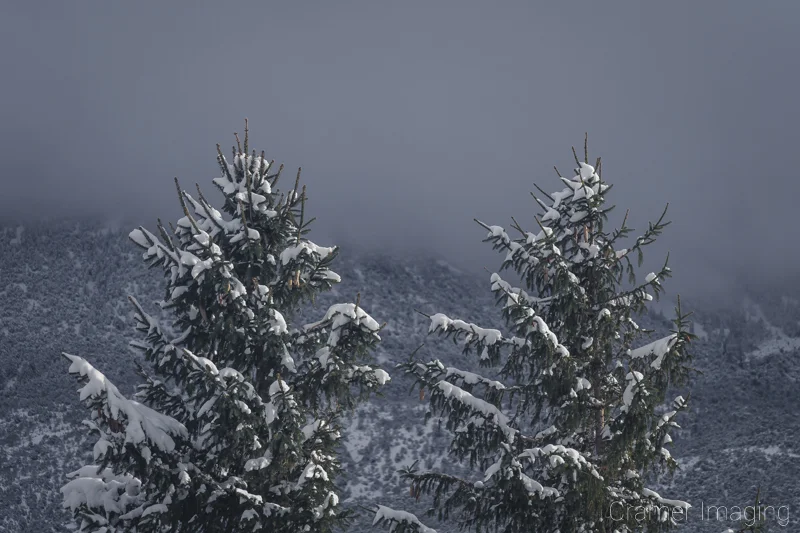
To take symmetrical photos like these, you merely need to stand in the right spot and frame things properly.
2. Use Reflections
Many times, your best option for symmetry does not involve mirroring or closely mirrored elements. In fact, reflections can turn into your best friend here. They offer perfect symmetry in your photos without worrying about balancing all the elements together. Observe these examples.
I’ll grant you that the first example (on the left) is indeed a perfectly mirrored reflection in so far as the evening shallow water permits. The second (on the right) example is a perfect mirrored reflection save for the foreground interest added in the lower left corner. Both of these are perfectly permitted examples of slight deviations which still count as symmetry using reflections.
Landscape photography will most often use the surface of water to reflect the scene. The still waters of early morning are the most ideal. At sunset, the conditions are often breezy or windy so the water is often choppy. It won’t yield a reflection at all. See these examples taken at sundown.
If you’re pursuing symmetry in other photography genres, then you can still look for water to reflect but you have other options too. Try using glass or another reflective surface to capture symmetry in the scene.


3. Use the Gridlines to Help
When you use your camera (or even your smartphone these days), there is a feature where you can turn on gridlines to help you with your composition. Most people don’t use this feature. However, for those who do, they can often line things up in frame better than just eyeballing it. Here’s an example of what the gridlines in your camera may look like.
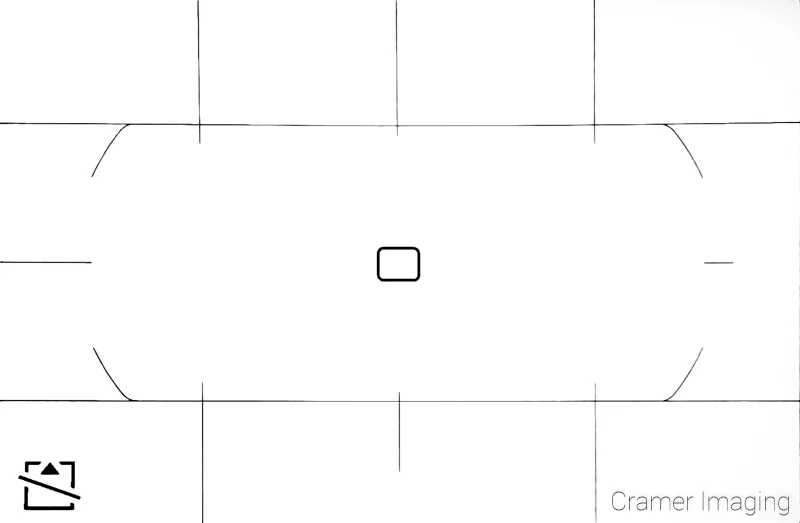
This is the gridline system in my DSLR camera. You may find a similar, simpler, or different version in your camera. Using these lines, I can easily compose photos with the rule of thirds, of symmetrical halves. All I need to do is line the elements up with the grid. I used this grid to create photos like these.
4. Pay Attention to the Frame Edges
When looking to create a photo, it’s really easy to forget about the edges of the frame. However, those are very important elements to consider when creating symmetrical photos. After all, these edges can make or break the symmetry. Take a look at these examples and pay attention to the edges.
It’s an important part of symmetry to make sure that the edges mirror each other as closely as possible. This is why I tried to use the center vertical or horizontal line as closely as possible. It doesn’t always work perfectly, but you can sure make things close.
5. Don’t Forget Radial Symmetry
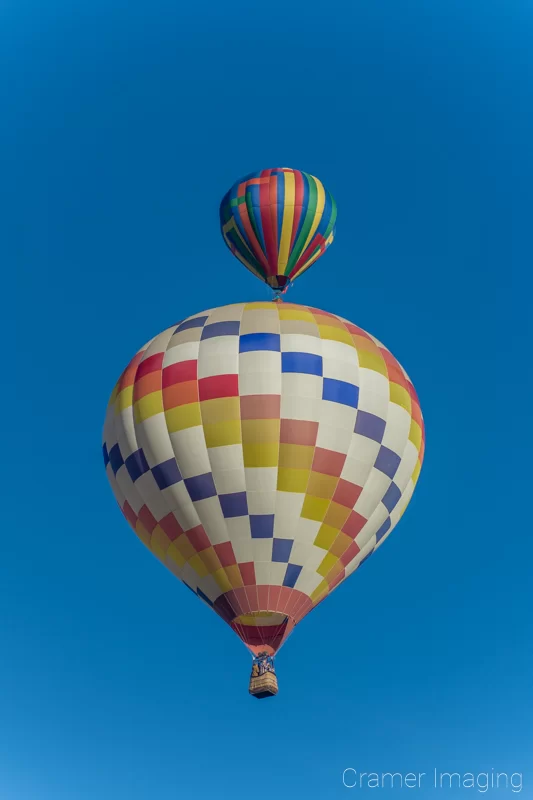
Oftentimes, people simply assume that symmetry is limited to simple line symmetry. However that’s not the case. There is also radial symmetry. It’s not as easy to recognize but it’s also a viable symmetry option in your photography if you encounter it. Take a look at these examples of radial symmetry in my photography.
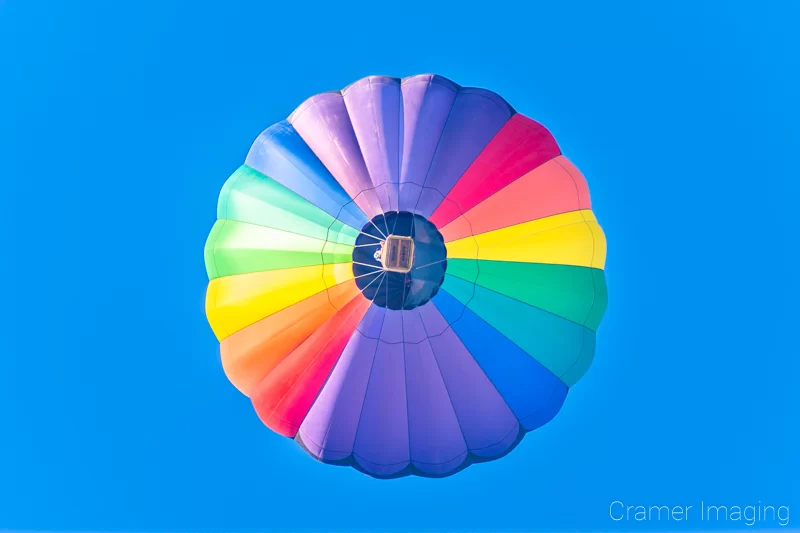
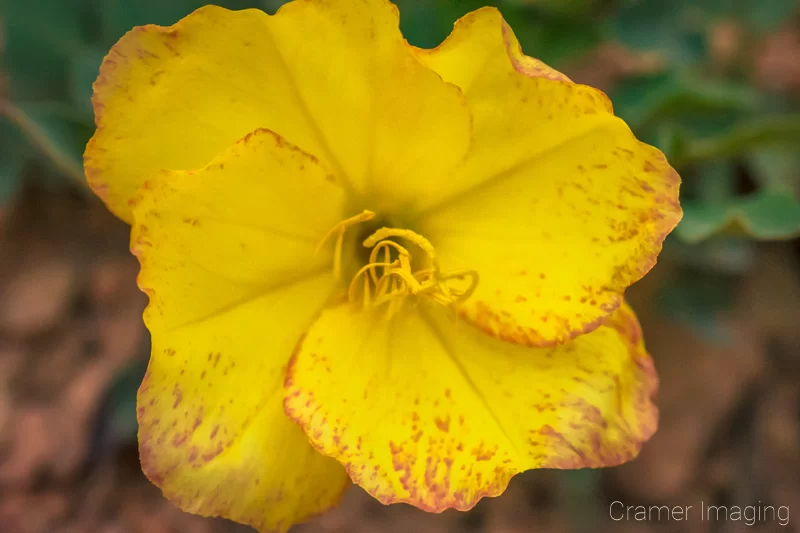
These are more common examples of radial symmetry. Notice how you can draw a line through the middle and rotate that line around a central point (the diameter) and still create symmetry. The petals of the flower and the segments of the balloon are the same shape. The balloon further demonstrates symmetry with the repeating rainbow pattern.
If you can find such symmetry in elements of your subject use it. This symmetry will also enhance your photos but it will add a layer of intellectual depth to things as opposed to a simple but blatant composition.
Conclusion
In conclusion, creating symmetry in your photos is quite easy. Simply look for or create a mirrored or closely mirrored scene, pay attention to the edges of the frame, and take a picture. The gridlines will help you in this task. If you want to step things up further, seek out radial symmetry for your photos. It will add interest to the composition.
Now it’s your turn. What kinds of symmetry have you discovered in nature or created yourself? What did you need to do in order to create the symmetrical photos you wanted? Share your thoughts and experiences in the comments section below. That way, we can all learn together.







Symmetry is also an important part of other arts as well, such as music. Symmetry provides a level of organization and a sense of wholeness or completeness as well. Great article!
Thank you. This is true. Glad you enjoy!