We’ve been going for three weeks now on the Boy Scouts photography merit badge requirements. We’re over halfway there but we’re not done yet. There’s still plenty more to discuss about the photography merit badge. Are you ready for another installment? Here we go.

Continuing obligatory disclaimer: I must say that I’m NOT your merit badge counselor (for photography or otherwise). This is especially true if I don’t live in the same council as you do. You will need to find someone local to sign off that you have met the requirements for this merit badge. Your local council office can assist you with finding a current photography merit counselor if you don’t know where to find one.

What I can do is to help you out with some of the research and basic learning aspects of the photography merit badge requirements. As there are currently no less than 5 groups of these requirements, I will break this up into 6 different articles for you to digest in your leisure. This article is part 4. You can find links to the other article(s) at the end.
Part 3. Camera Operations
The third part of the photography merit badge requirements states the following:
3. Explain the basic parts and operation of a camera. Explain how an exposure is made when you take a picture.
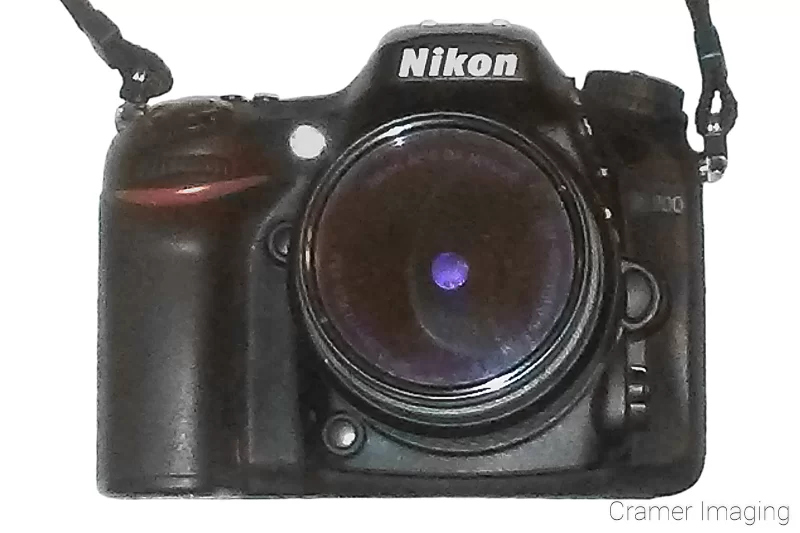
Deep down, camera operation is a very complex task thanks to adding computers to cameras. However, you don’t need to know voltage differentials and other deep electronics workings like that (you can study that later if it interests you). You need a basic understanding of cameras and how they work. That’s what we’re talking about today.
Basic Camera Parts
A camera is (in its purest essence) simply a dark room with a tiny hole to let light into. Most other functions of a camera are there to control how much light is let in and when. Cameras these days are almost exclusively digital so I will focus on digital cameras.
When it comes to basic camera parts, each camera by each manufacturer is different. The overall simplistic design of dark box, shutter, aperture, sensor, battery, etc. is the same. However, some camera manufacturers will give the same part a slightly different name. I’m not going to elaborate on the nuances of names here. I’m sticking to the basics. Just know that if your camera manual doesn’t completely line up with my vocabulary here, look for something which looks similar and has a similar name/function.
So, I’m using Nikon‘s diagram for my camera model. I was going to recreate a basic diagram myself but it sounded more complicated than I wanted to do. Then I realized that I didn’t have to ‘re-invent the wheel.’ I could grab the diagram in my camera manual and it would cover what I needed and then some. So, this is a compiled diagram of a Nikon D-7200 (copyright Nikon Corporation). I’ve removed the labels and omitted the information about camera functions which are not pertinent to this basic parts discussion. I’ve also re-assigned the pertinent labels.
If you want to fill in the blanks, simply run a search for the camera model’s manual. You’ll find these diagrams in the first few pages.
Diagram

- A-Mode Dial
B-Accessory Shoe (for optional flash unit), also called Hot Shoe*
C-Sub-command Dial*
D-Battery Chamber Cover
E-Battery Chamber Latch
F-Power Switch
G-Shutter Release Button
H-Control Panel*
I-Lens Mount*
J-Tripod Socket*
K-Built-in Flash
L-Mirror*
- M-Lens Mounting Mark*
N-Trash Button
O-Playback Button
P-Monitor
Q-Menu Button
R-Plus Magnification Button*
S-Minus Magnification Button/ISO*
T-Lens Release Button*
U-Main Command Dial*
V-Multi Selector
W-OK Button
X-Memory Card Slot Cover
Y-Viewfinder*
* -Not every camera will come with these features. These features are included on most basic DSLR cameras but might not be included on consumer-grade point-and-shoot cameras or smartphone cameras.
Camera Operations

You should already be familiar with some of the list of camera parts above. However, for those who are not (and because the merit badge requires an explanation), I’m going to connect some of the dots for you.
We start off with the basic dark box (room) with a hole in it. The box is the camera body and the hole is place where the lens goes. The lens (not depicted) is used to focus the light coming through the hole so that you get a clear and sharp picture. With smartphones and point-and-shoot cameras, the lens comes attached to the camera. With SLR cameras (including DSLR’s), the lens is not attached so you can swap out the lens depending on what you need for the photo you want to take.
Shutter and Aperture

Contained in the lens is both the shutter and the aperture. The aperture, as discussed in previous articles (see links below), is the camera’s diaphragm and will enlarge or shrink the hole that the light comes through. The shutter is the door which opens to let light in and closes to keep it out. The aperture is usually controlled by one of the command dials for SLR cameras or via the mode dial for point-and-shoot cameras. Smartphones have usually swipeable menus which you can navigate to control the aperture/mode. All cameras have a shutter release button.
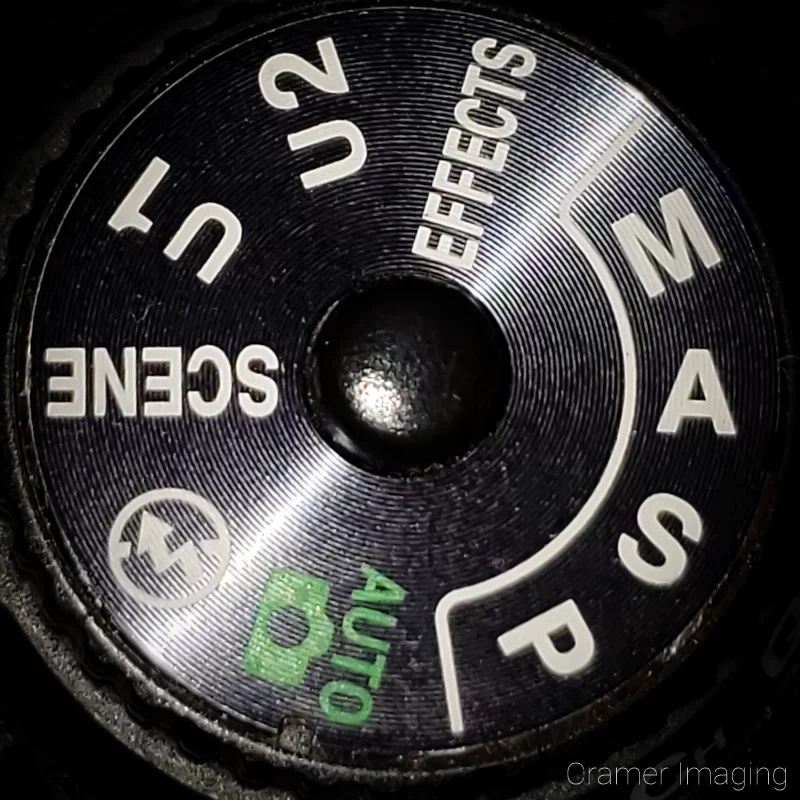
For those wanting greater control over the shutter and the aperture, you use the mode dial to set PASM modes as you see fit. Some cameras will give you a control panel to view your camera settings with while other cameras will use the monitor (screen) instead.
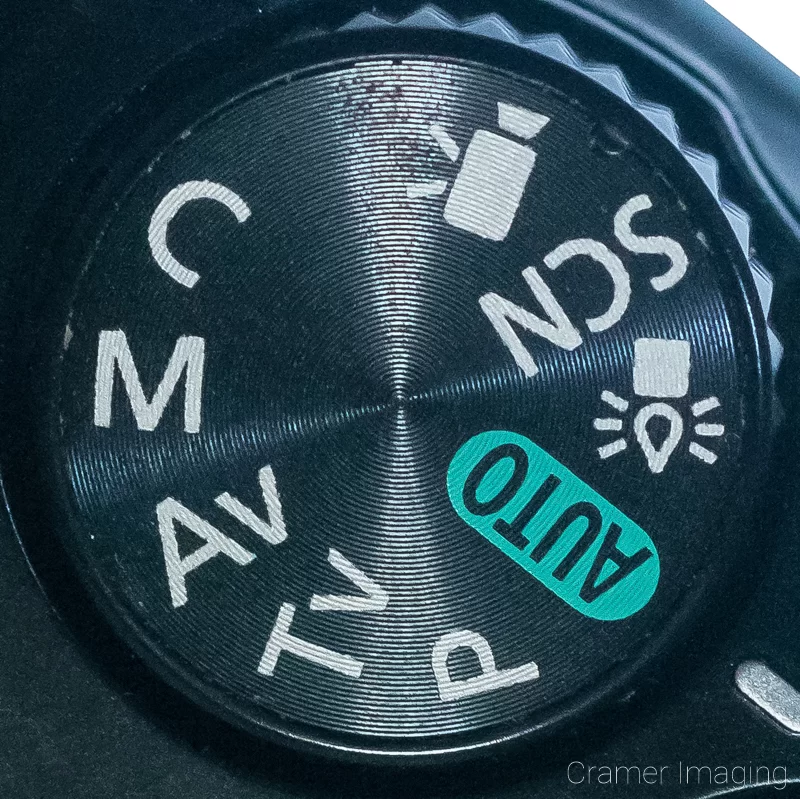
Once you click the shutter button, light floods into the camera body and strikes the sensor (not depicted in the diagram). This sensor is what interprets the light and creates the photograph. You may have the option to preview what the photo will look like using either the viewfinder or the live view monitor (some cameras, such as smartphones, don’t have a viewfinder). You can control just how sensitive the sensor is using ISO settings which could be found on a button or in the menu. Not all cameras offer the ability to control ISO (smartphones and most point-and-shoot camera models often don’t).
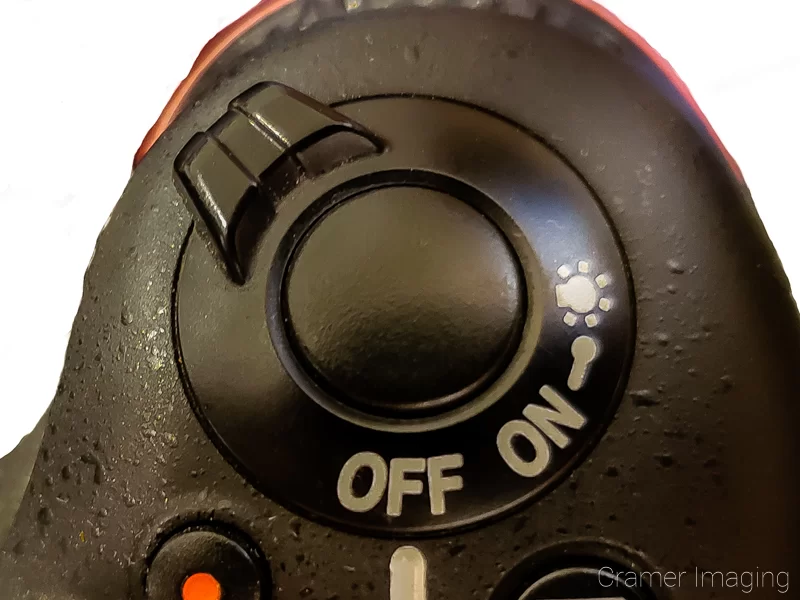
Viewscreen
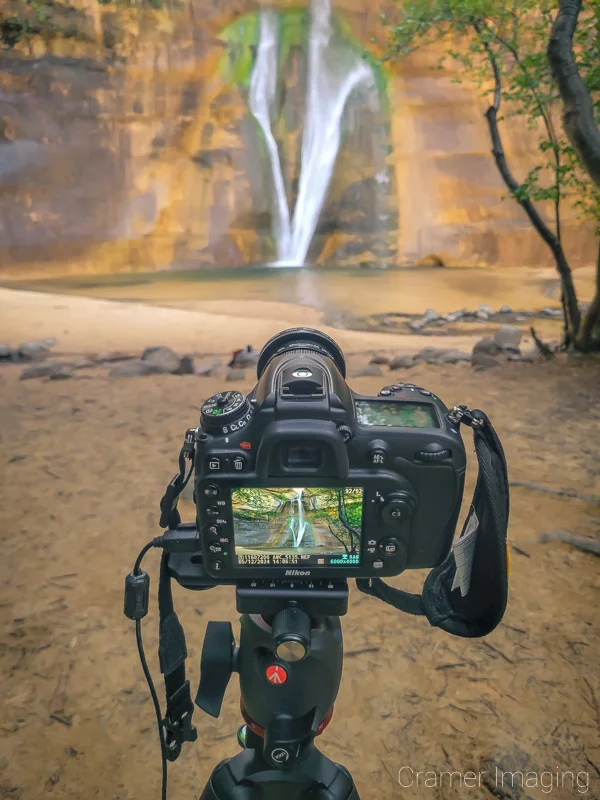
When you want to see how a particular photo turned out, then you would use the playback button and the multi selector buttons to scroll through your camera reel. If you want to look at something closer (perhaps to check and see if it is in focus and sharp), you would use the plus magnification button. You would use the minus magnification button to return to original size and continue scrolling. If you find a photo which you don’t want to keep, then you would use the trash button and the OK selector to delete the image from your camera. Deleting is permanent.
Memory Card

Your photos are stored on a memory card which you can access using a memory card slot door. You can remove the card and move the photos to your computer or take them to a printer kiosk to be printed.
Dedicated DSLR camera bodies and earlier consumer-grade point and shoot cameras have a dedicated slot for memory cards. You can easily access these memory card slots. Earlier model smart phones contain slots for micro-sized memory cards. However, you must often open the phone to access the memory card slot. More current smart phone models remove the memory card functionality.
Most cameras have several additional settings which there’s not enough room for buttons for. These lesser but important functions can be accessed and altered using the menu button. For lower-end cameras, several functions may only be found there, such as ISO settings, if offered at all on a particular camera model. The depth and complexity of the menu system varies from camera to camera.
Camera Mirror
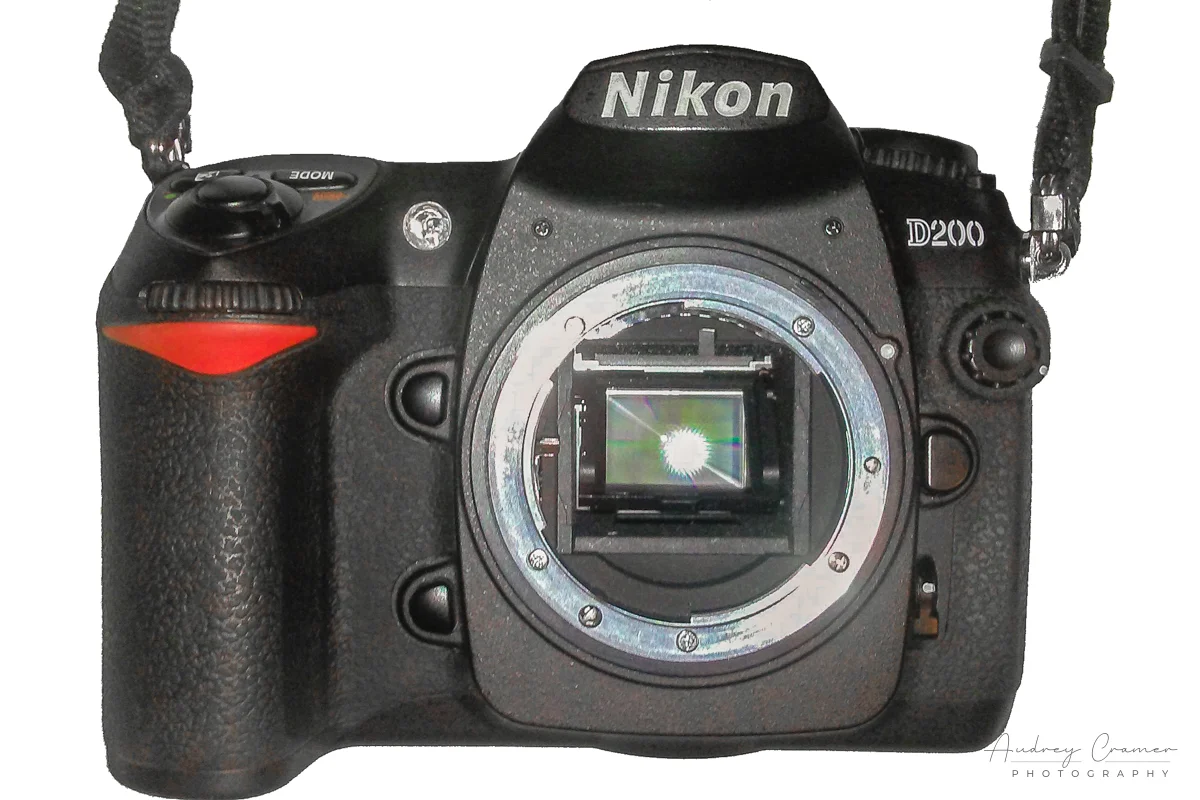
For those cameras which have a viewfinder, you will find a mirror inside behind the lens. This mirror is there to direct the image up into the viewfinder. If you hadn’t noticed (I know I hadn’t when I started photography), the viewfinder is not in a direct line with the camera’s lens. You cannot look out directly through the lens to see your subject. This is what the mirror is for. It allows you to look at a reflection so you can see your subject without ruining the dark box of the camera.
Flash and Hotshoe
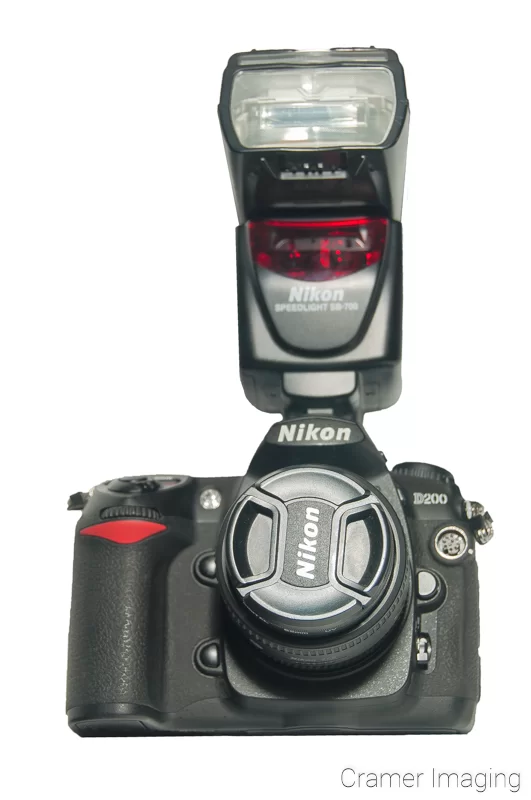
The final parts and operation you should know about are the built-in flash and the hot shoe. Every so often you go to take a photo which doesn’t have enough light for a proper exposure. This means that the photo will be too dark. Flashes were invented to help solve this problem. Your camera comes with a small low-powered flash built-in. That low-powered flash will activate when the camera’s light meter thinks there’s not enough light.
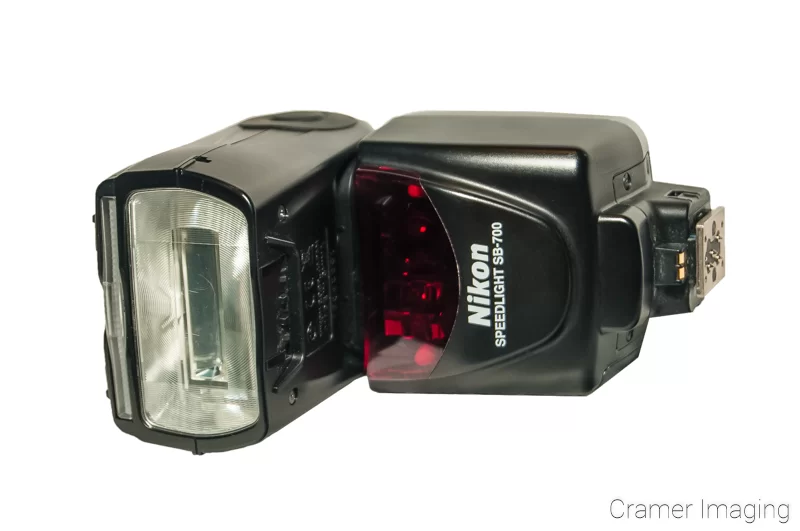
If you want something bigger and more powerful (or perhaps better controlled) than the built-in flash, that’s what the hot shoe mount is for. You can attach a bigger and more powerful flash to your camera there. Depending upon the flash unit and your camera, the camera might even control that flash for you too. Smartphones do not have an optional hot shoe.
How and Exposure is Made
In the old days of film (before digital cameras), people created photos using light-sensitive chemicals which you would develop using other chemicals in a dark room. Only after this process did the image became permanent. Digital cameras have changed that process with the introduction of sensors.
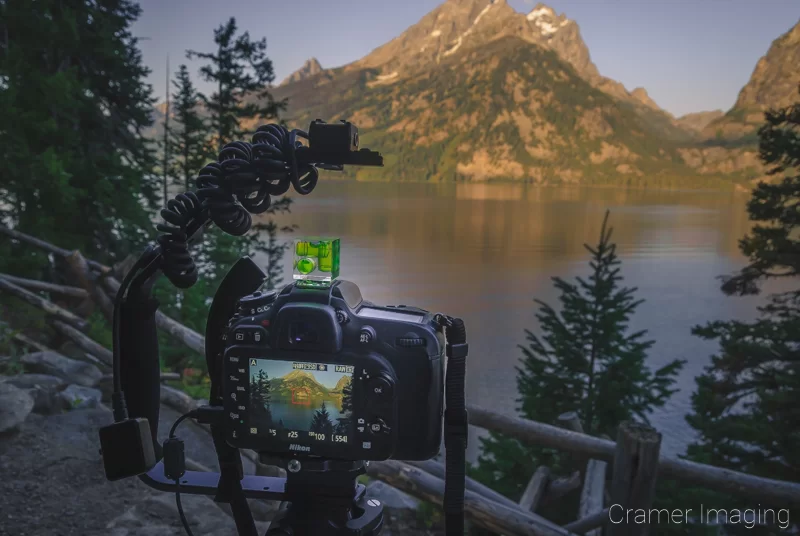
Your digital camera sensor measures the light coming through the aperture. The camera’s computer measures several different colors at once: white, black, red, blue, and green. Using this information, it calculates the color of a bunch of individual pixels. When you look at these pixels from a distance, they make up the photograph you took. The camera then stores these photos on the memory card.
This is how your camera is able to show you the picture you just took on the monitor.
Conclusion
Camera operation, just like many other machines, seems very simple on the surface. However, there’s more going on under the surface once you ‘lift the hood’ and examine closer. Using the shutter, aperture, and ISO, the camera sensor is able to create the image and then save it onto a memory card for you to immediately review if you choose.
Each camera has its own specific operations and operation names which will vary from model to model, even from the same camera manufacturer. Your single best source of information for learning how your camera operates is your camera manual. If you don’t have one or can’t find it, then the internet should have a digital copy available to you for no charge.
So know that you have a general idea of how a camera operates and how to take pictures, it’s time to learn more about making the photos you take look their best. Next week, we’ll discuss post-processing and some of the basics there. Make sure to tune back in then for the next installment of the photography merit badge.


