Here’s a deep sciencey term which you might not have heard of but it affects photography and your regular vision in general. It may sound intimidating but really it’s a simple concept once you get to see what it’s all about. Today, we’re diving in deep about chromatic aberration and photography. Ready or not, here we go.
Chromatic aberration is one of those concepts which is hard to explain without lots of science and graphics to back you up. However, it’s also one of those concepts in nature where you know it when you see it even if you don’t understand why or how it works.
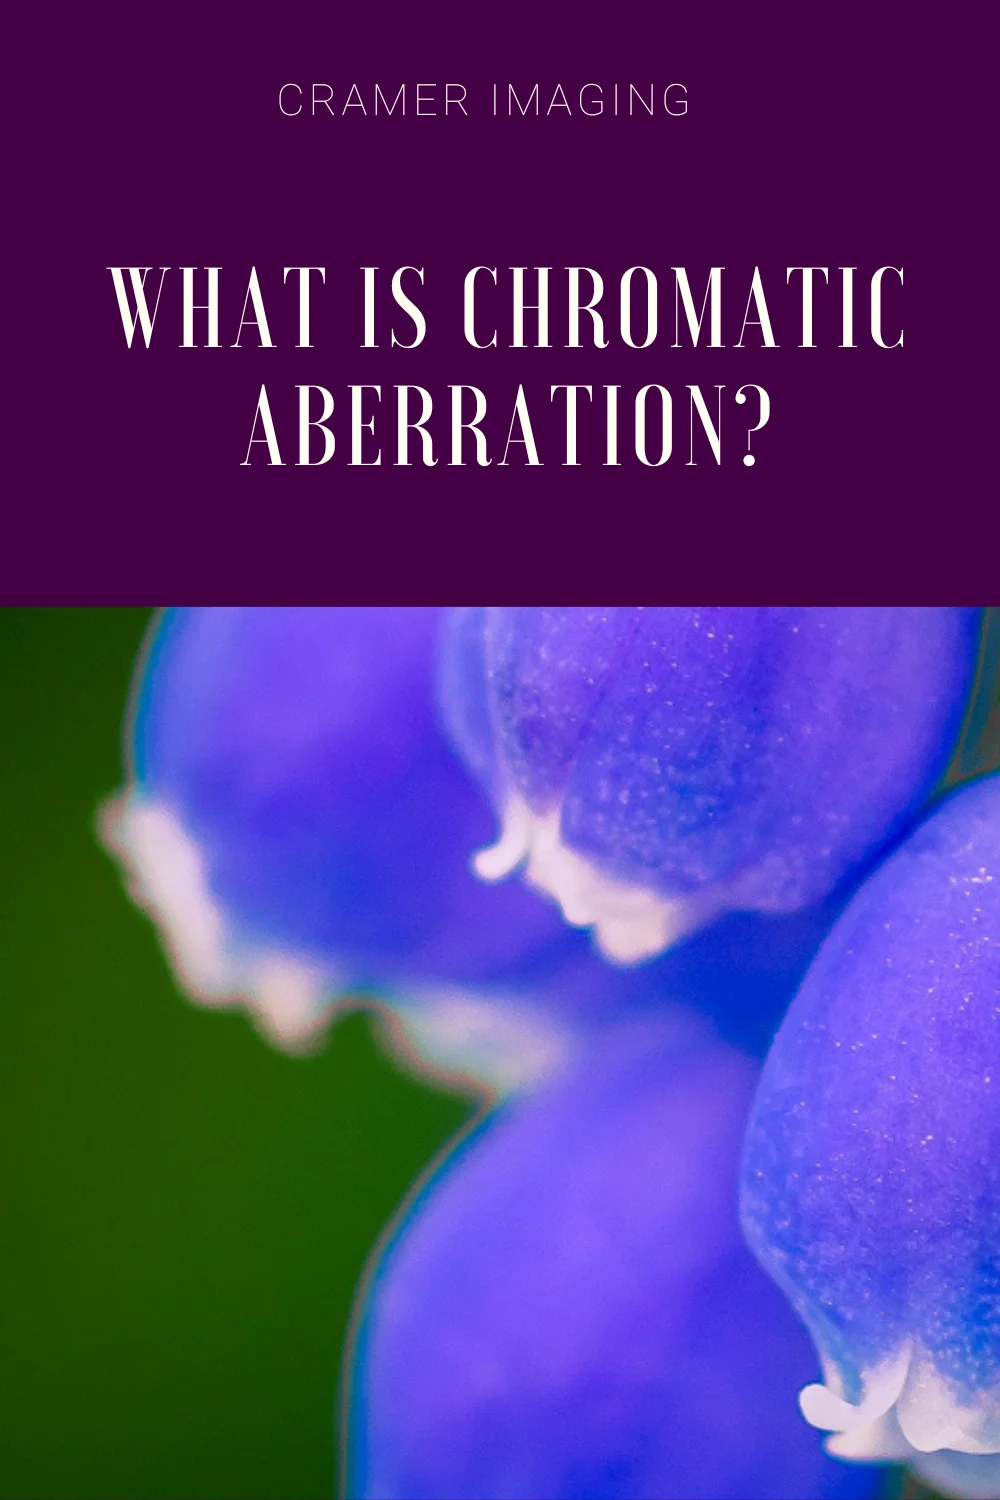
Let’s start with this example photo below. By the way, I’ll be using this photo as an example throughout this article today.

This photo looks like a nice macro shot of a muscari flower. It seems simple but beautiful. However, if you look closer, you will see that there’s something wrong with some of the color around the edges of the flower.
Here’s a close-up of the bottom-left part of the flower so you can really see what I’m talking about.

You might start seeing that something looks really off about this close-up and you would be right. It’s chromatic aberration. If you can see exactly where it is right now, give yourself a pat on the back. For those who haven’t quite gotten the idea, here’s a graphic of the close-up below. I’ve circled a large area of chromatic aberration and put in arrows to point out smaller areas. Take a close look at the edges.

Now you see it, right? It looks awful. When the photo is zoomed out, it might not be so easy for you to see but close-in, you can see there’s something wrong.
Now that you know what chromatic aberration looks like, you’re probably wondering how it happens. That’s where we go into the deep science of optics (a branch of physics) for the answer.
You know that light is broken up into waves which travel at different speeds or frequencies. You also know that cameras, eyeglasses, and even your eyes use lenses to help focus light. Chromatic aberration happens when the different frequencies of light don’t line up and focus in the same place. Take a look at the illustration below.
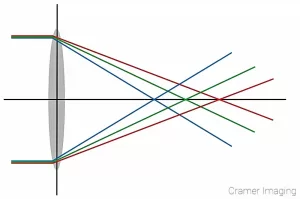
The gray disk is a lens. The red, blue, and green lines represent different colors of light coming in from the left. The black lines are merely there to help you see where the light rays line up.
As you can see, when light from the edge of the lens gets focused, the differing frequencies don’t line up in the same place. This is how that rainbow effect on the edges gets created.
The lens refracts (or bends) the light back to the sensor (previously the film) so that the camera can take a picture. Your eye does the same thing except that there’s an optical nerve to transmit the visual information back to your brain instead of a sensor.
If you’re a photographer, like I am, then your next question is how do I prevent this? Well, I hate to break it to you, but there’s no easy way to fix this issue. It’s inherent to any and all lenses out there. The cheaper lenses will show it more than others but all have it present.
The question should be “how do I fix chromatic aberration?” That’s a much simpler answer. There are two ways you can do this.
 The first option is very simple. Don’t use the edges of your lens when you take a photo. Close (or stop) your aperture down so that you are not exposing the incorrectly refracting light to the sensor of your camera. This will reduce or eliminate chromatic aberration from your photos.
Of course, this also means that you will have to deal with a deeper depth-of-field in your photography than you might have initially wanted only since achieving bokeh requires a shallow depth of field or an open aperture. It is a trade-off if you choose to use the physics method.
There is another option if you want to remove chromatic aberration from your photos and still enjoy a shallow depth of field (or blurry background). This is a software method.
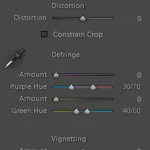
Many high-end photo processing software, such as Photoshop and Lightroom, have the ability to correct for chromatic aberration. You need to know how to, but you can remove those unwanted and strange-looking rainbows from the edges of your photo subjects.
Observe this altered version of the photo from above.

In this version of the photo, I have corrected for chromatic aberration. Here’s a close-up below of the same angle from above.

Remember those areas we were looking at before with the rainbows? They’re gone.
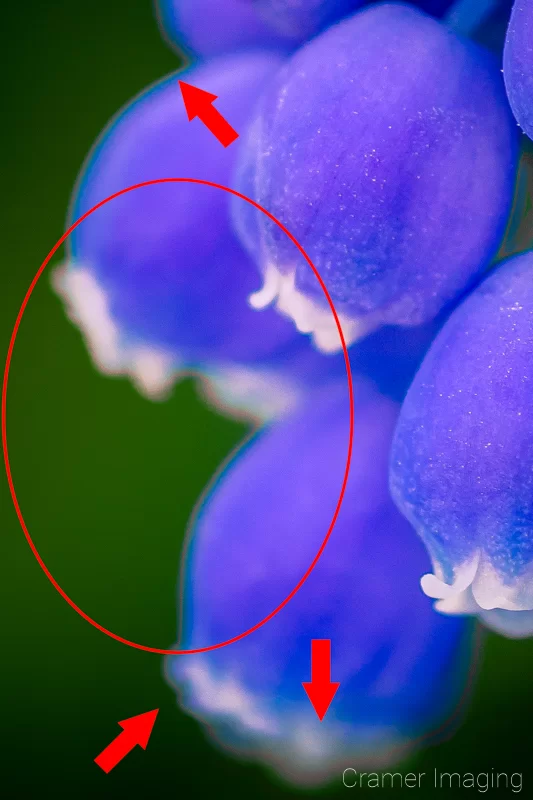
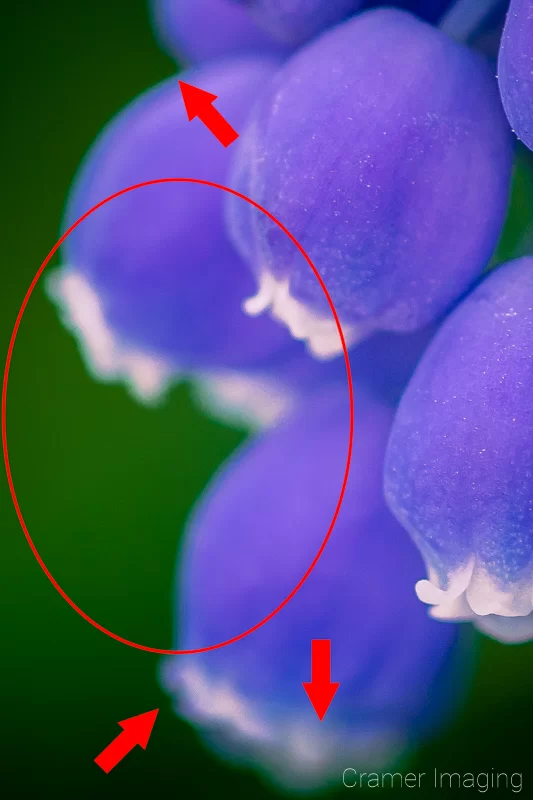
Here they are overlayed, complete with circles and arrows, so that you can compare the before and after.
 Software will not always fix a photo with chromatic aberration to your satisfaction. If applied wrong, or even overhanded, then the color edges of your photo will look wrong. Sometimes software can’t fully compensate for lens issues. I decided that I still didn’t care for this photo enough to make it a permanent member of my portfolio even after removing the aberration.
Software can help but it’s not always magic when it comes to dealing with chromatic aberration.
Chromatic aberration is a trick of the light passing through the edges of a lens. It happens when different colors or frequencies of light don’t line up at the same focal point. Chromatic aberration happens with cameras, eyeglasses, and even regular eyes.
There are options to fix chromatic aberration but they come with trade-offs or a lack of guarantee. They will be more obvious with cheap lenses and with shallow depth of field or blurry background photos.
Chromatic aberration is something that we have to deal with in photography. It has rendered many a good photo useless because it’s not easily corrected if you don’t know what you are doing. Now that you know about chromatic aberration, you can keep an eye out for it in the future.


Receive monthly updates in your inbox from us.

Join our email-only photo of the week club to get the full stories behind how we captured our favorite fine art landscape photos.
We respect your privacy
No More Results