I’ve been a photographer for several years now. Over that time, I’ve made a lot of mistakes and missteps. I made many mistakes as a beginner photographer. Since they say that good decisions come from wisdom and experience and also wisdom and experience come from bad decisions, perhaps I should share some of my experience. I’ve already shared some in parts 1, 2, and 3. So, here are 5 more tips which I really wish I would have known as a beginner photographer.
1. Find What You Like to Shoot
Let’s start with the first of my beginner photographer tips here. As a shiny new photographer, you’re ready to go shoot any and everything you can think of. It’s all new and exciting. However, that will change as time passes. Eventually, you’ll find subjects which really don’t inspire you. You’ll even find subjects which you dread shooting. It happens. The trick is finding what you enjoy shooting and pursuing those subjects with all your heart. The only way you’ll truly discover this information is through experimentation.
If you shoot what you enjoy, then that enjoyment will show in your work. People looking at your photos will feel your passion and that passion will draw them in. They will fall in love with your work and want to see more. If you’re lucky, they may even want to purchase copies of your photos for themselves.
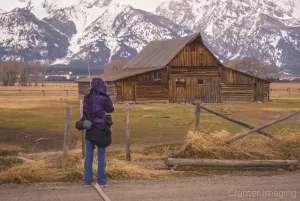
Check out some examples here of photos where I definitely showed my passion.


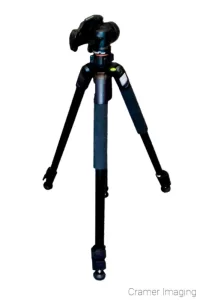
Now compare these photos above to those below. In the following photos, I wasn’t passionate about the subject matter. I tried faking it but it still shows through. I learned this about myself through experimentation with different forms of photography. These are earlier experiments.

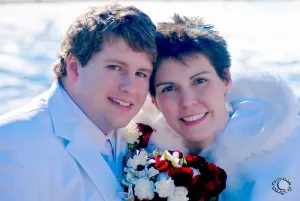
To me, the second group is technically correct. However, that’s all there is. There’s no life in those photos, as opposed to the top group. Clearly, photographing people wasn’t for me. I much prefer landscapes and nature. But your particular tastes may be different. You may enjoy the face-paced world of sports photography or the world of high fashion photography. There are people who enjoy photographing the highly intricate world of macro photography on a scale where everything is in focus at once. Whatever your photographic passion is, pursue that with all your heart and you will enjoy photography much more.
2. Prepare Your Camera for Your Photo Shoot Ahead of Time
Have you ever made a trip to a destination and forgotten to prepare half of what you need when you get there? I have and it’s been on photo shoots too. Depending upon what I forget to prepare, I may waste the entire shoot (along with the gas to get there) due to my lack of prep. That’s frustrating especially when I know I would have captured something beautiful there. But there’s a way for both me and you to prevent this tragedy: preparing our cameras beforehand. That’s why I include this in my beginner photographer tips.
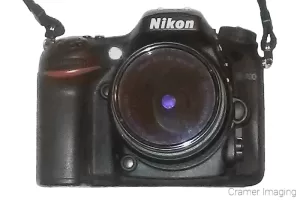
Let’s start with a basic list of things you should check before you head out on your shoot.
- Make sure your camera batteries are charged
- Check your memory cards for storage space
- Clear off card space if you don’t feel you have enough available
- Double check to make sure your camera settings aren’t crazy
- Make sure you have all the accessories you need
- Buy extra batteries for flash units and more if necessary
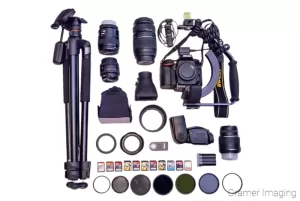
Every single one of these points listed above could mean disaster if ignored before your shoot. So, make sure that you check on all of these before you head out. If there’s a problem, then you have time to correct it and keep your photo shoot engagement. I recommend to check these things out the night before if possible. That way, there’s plenty of time to charge batteries.
3. Reset Your Camera Settings
As a new photographer, this beginner photography tip may catch you by surprise. I know that it did when it was my turn. However, this tip may save you some headache and lost time/photos if you remember.
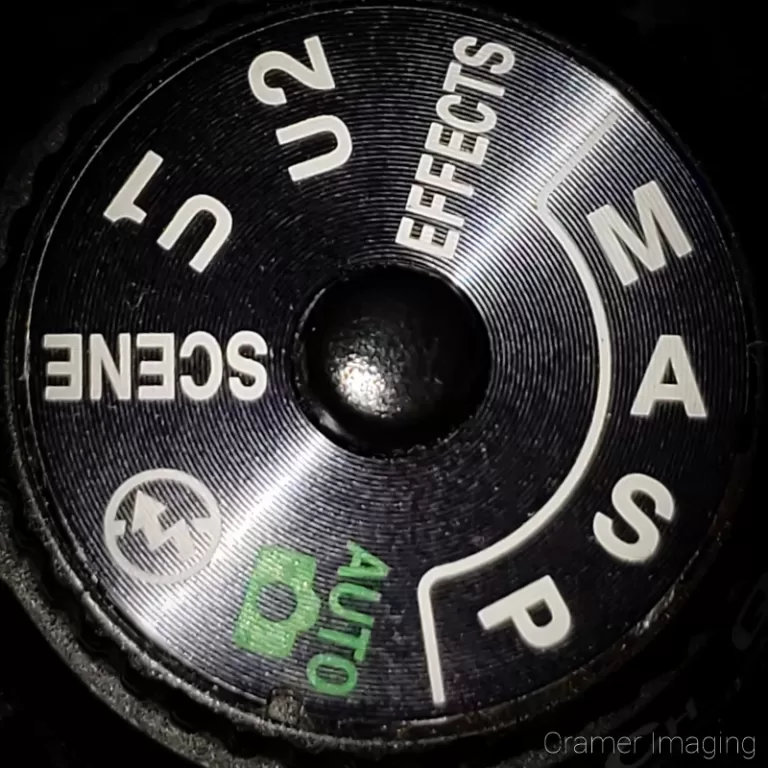
It’s really simple. If you go out on a photo shoot, make sure that you return your camera settings to something you might call “regular settings.” You never know what your next shoot will be. I’ve taken photos during a night shoot. This requires specialized settings of aperture, shutter, and ISO. In fact, I often require Manual Mode to control the camera the way I need. However, these settings will cause crazy exposure problems when I return to normal light conditions.
The way that I deal with this problem is to reset my camera when I’m done with my photo shoot. I make a point of changing everything I remember altering. Also, I do this while the information is still relatively fresh. Then, when I’m pulling out my camera for another shoot, I double check those camera settings again. I have missed things in the past. This second check insures I don’t need to worry about that problem out in the field. I can take my camera out safe in the knowledge that I won’t miss a narrow slice of opportunity by fiddling with my camera settings.
4. You Don’t Need To Own All the Photo Gear at Once: Try Renting
This particular beginner photographer tip might sound a bit like the gear lust tip from a previous article. However, it’s a bit different. You might say that this tip is that tip’s cousin. Let me explain.

While gear lust is wanting something new and shiny, this isn’t quite the same thing. Let’s further define what I mean. Some people get into a rush to reach the next stage, whatever that stage may be. They don’t slow down. They aren’t satisfied with waiting. Wanting all the gear now definitely falls under this heading. Reasons given may include they may feel their creativity stifled by a lack of camera gear or that they value appearances. You might even catch a jealous or competitive photographer in the crowd. However, owning all the gear now won’t help as much as you think.
Many beginner photographers don’t already know the following specifics of their craft and, thus, aren’t ready for all the gear they might need down the road. However, let’s say for the sake of argument, that you already know exactly what you want to shoot as a photographer. Also, let’s add that you’ve done your research and know what kinds of equipment your genre often requires. Perhaps you do know how to use all this equipment. Maybe you learned how in school or though an e-learning course. How you know doesn’t matter that much. In short, you have a list of gear you want but you don’t own it all yet. However, you feel a need to acquire it all now. Translation: you’re impatient again.
So, you’ve done your research. You know the general kinds of gear which other photographers use and succeed with. What you don’t know yet is whether or not you will succeed with the same gear. Chances are high that you will if others pursing the same kind of photography do. However, you’ll only know when you try it for yourself. That’s where camera gear rental can come in.
You can rent camera gear for a small window of time to try it out with your other equipment. There are several different rental agencies you might try. One company I’ve used is called Borrow Lenses (not an affiliate link). You can rent any camera equipment you imagine to see if it will really work for you and your current rig. Some equipment will work and some won’t work with your photography and gear.
Once you know a particular piece works and have the money ready, you can make the leap and buy what you need. Again, if you find a rental piece doesn’t work for you (against the odds), then you haven’t wasted several hundred dollars buying a dust collector for your shelf.
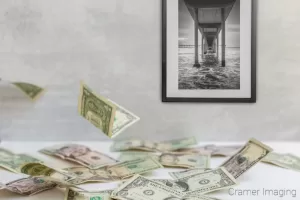
5. Your Good Photos Now Will Start Looking Bad Over Time
 As a beginner photographer, you may feel that you can do anything. You may feel invincible or incredibly talented. You may even feel that every (or at least almost every) photo you take is golden. However, that will change over time. I’ve been there and I know what road lies ahead if you stick with photography long-term.
I include this particular beginner photographer tip because it bit me. In fact, most of these beginner photographer tips tripped me up in some fashion. Still, it’s best to know what’s coming.
As I started taking photos, I slowly learned what constituted a “good” photo as opposed to a “snapshot” image. I even received a few critiques on that subject. Naturally, I started building my own photography portfolio as I went. Every so often, I would look back and review my previous entries. Many times, I would swell up with pride knowing that I took those photos.
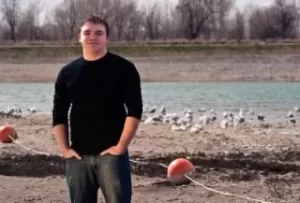
Check out some examples of what I’m referring to here.
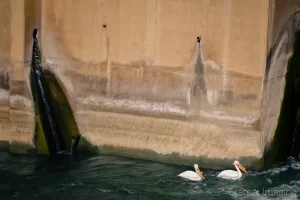

These photos were very early additions to my professional portfolio. However, they didn’t stay in long as my skills improved over time. I learned to see the amateur flaws these photos put on display. I removed them from my portfolio and don’t often show them off anymore, save for situations like this. I’ve even gone back to try and fix them. However, I cannot fix them for multiple reasons. Now check out some next-level photos I created.


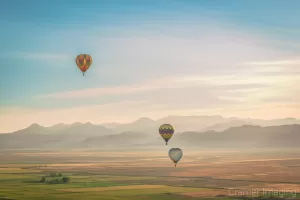
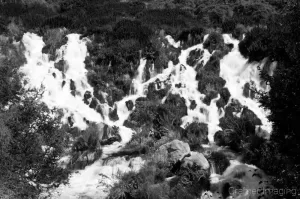
These landscape photos made more than one appearance in my portfolio. I originally added them soon after taking them. Then, as my skills improved again, I started noticing issues with them too. I removed them in favor of others. Then, I decided to go back and see what I could do with them years down the road. I found that I needed to process them better and they could return to my portfolio. Your path here might not mirror mine, but you get the idea. Now, let’s look at a final round.

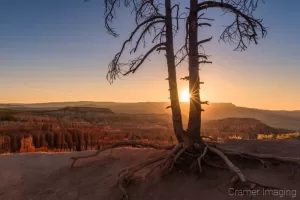

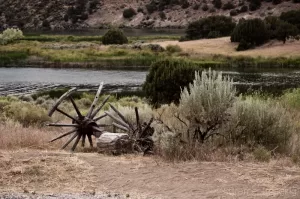
I’ve been through several levels of portfolio revisions. These photos are some of the latest additions. Also, these photos are popular sellers. Perhaps, one day, I might look back on these photos and wish to distance myself from them like the first group. However, I’m not counting on it any time soon. These photos still make me proud to call my own.
If you decide to stick with photography long-term, as I did, then you’ll find yourself progressing through several stages just like those above. You’ll start off really proud of your photos. Then, over time, they’ll lose their shiny. Later, you’ll look back with some disappointment and perhaps even embarrassment. It’s ok. That’s a natural part of learning how to be a photographer. It also means you’re improving as a photographer.
Conclusion
In conclusion, you can see there are many potential pitfalls ahead of you in photography. This is why I’m sharing my beginner photographer tips: so you can avoid some hazards ahead. I hope you can learn from my missteps and mistakes.
So, what do you think of all these beginner photographer tips? Do you have any to add yourself? Share them in the comments section below. Perhaps I’ll include them in a future article.


Best Sellers

Cramer Imaging Newsletter

Receive monthly updates in your inbox from us.