Lots of people like knowing something of what goes into making their favorite products. Perhaps that’s why TV shows like How It’s Made became popular. I haven’t dived very deep into my psyche with you when it comes to my landscape photography. So that’s why I’m here to show you a behind the scenes of how I do my work here at Cramer Imaging. Today we’re discussing how I choose a landscape photography location.
I’ve learned I put much more into choosing a location than simply saying (or thinking) “I’m going [there].” If only it were that simple again. However, as with anything else worth doing well, I must put more effort in than a simple thought. So, let’s break down this process for you.
My Initial Location Selection Process
Sadly, we’ve discovered many of the worthwhile landscape photography locations already. You see them plastered all over the internet by many different landscape photographers. However, this fact often makes my work easier. I glean a general idea of what I’m facing before I even choose to investigate a location closer.
So, I start my landscape photography work by choosing a location. Without a location, there is no landscape photography. Sometimes a client chooses a location for me. However, most of the time, I do the choosing. I keep a special save folder on Instagram and Facebook specifically for inspiration. If I find something I want to try, I often save the post there for future reference. In those folders, I specifically save posts telling me specific locations not general locations.
Oftentimes, I choose a local spot I know and try for a different take (or at least my own take) on the subject. If I feel like a quick jaunt, then I usually fall back on places I’ve already been and know the terrain. Sometimes it pays dividends to return to places I know. Making that choice is often easy.
Location Research
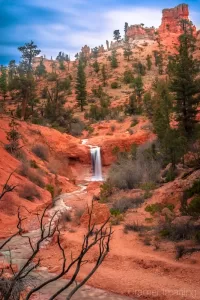
Once I know where I want to go, I must take time to research it. I’ve added some beautiful places to my list of “to-do” only to learn of multi-hour hikes, dangerous hikes, no marked trail, or other considerations. Because of these concerns, I haven’t yet attempted some of the more remote locations I want to shoot. However, I’m slowly working out logistics to make those treks.
Without this background research, I’d be super frustrated frequently. I’d have probably tried for several of these locations only to learn too late what I needed in order to reach them. With research, I properly plan what food, water, and other supplies I need to make the trek. I also plan appropriate amounts of time for the ventures. So, even if I choose a location, logistics often overrules me without proper preparation and planning.
How I Choose Where to Stand
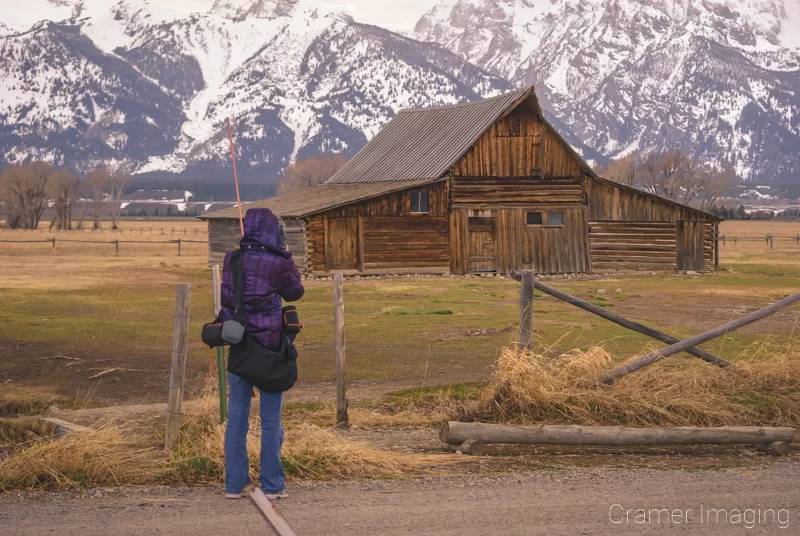
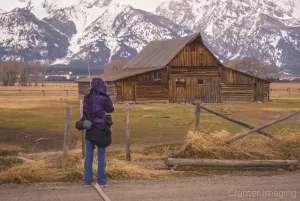
Once I’ve chosen and arrived at my location, the real work begins. I must scout out the location to figure out just where I want to stand with my camera when I go for the real shot. Since this trip is often my first time on location, I must learn about the site. I must lay a compass rose over the landscape in my head so I can track the sun and other celestial bodies. Also, I must see the landscape for myself. More than once, I’ve reached a new location a client hired me to shoot only to learn about issues I must deal with. I prefer to know ahead of time so I don’t waste my time during the actual shoot.
Once there, I take some time and walk around the site. My first view is often less ideal to choose as my location than other views. I take a few test shots. Sometimes those test shots end up being the final shots. Most of the time, they don’t. If I don’t yet have the final shot I want/the client wants, I wait for a day when the weather looks to be promising and then go out at either sunrise or sunset depending upon the location. After my scouting trip, I know exactly where to go and set up my tripod for another attempt.
Conclusion
So there you have it. Now you know how I choose a landscape photography location. Tell me: did you expect me to put in all that effort? Do you know someplace which I should put on my list and research further? Share your thoughts in the comments section below.
Best Sellers
Cramer Imaging Newsletter
Receive monthly updates in your inbox from us.