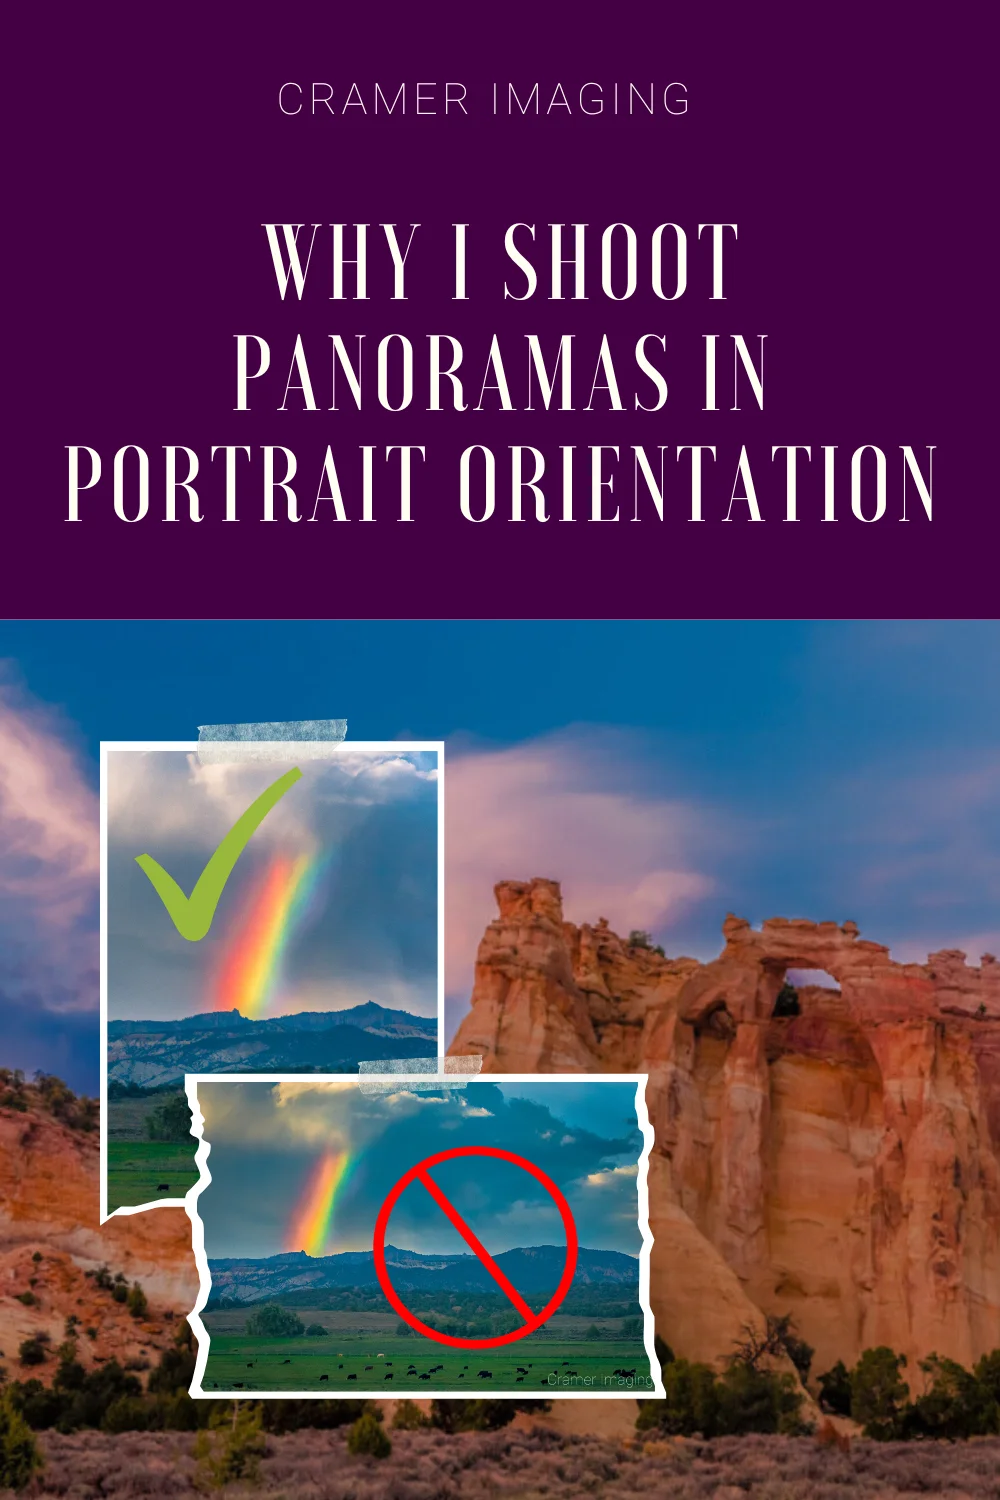
If you’re into photography, and I know you are because you’re reading this article, then you will consider shooting panoramas at some point. Perhaps you already shoot panoramas. It’s only natural. After all, you can only capture certain scenes with the extra width or height which a panorama offers. So, today, I’m sharing with you a tip about shooting panoramas. I’m sharing why I shoot my long panoramas in portrait orientation.
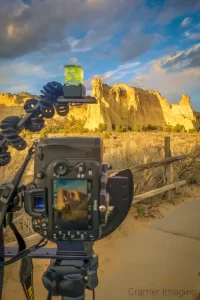 At first, this idea seems counter intuitive. However, I’ve learned it works well. Now, I make a point of shooting all my landscape-orientated panoramas with my camera in portrait orientation.
Panoramas are long and thin images. Either the width or the height is extra long. Oftentimes, without this unusual aspect ratio, you can end up missing out on some important parts of the scene. Now, if the photographer has done their job properly, then any missing parts are insignificant or unnecessary, thus they were cut. Still, there are times when wider dimensions will give you more options. Let’s explore a couple reasons.
Perhaps the scene is taller than a landscape-orientated camera will capture. It happens plenty of times. So, what do you do when there are important elements which you cannot capture in-frame? Some people will tell you to zoom out. While this suggestion is a viable option, it too has its limitations. It will work in some ways, but it won’t work in others. Take prime lenses. They can’t zoom at all. To further illustrate things, let’s look at this example.
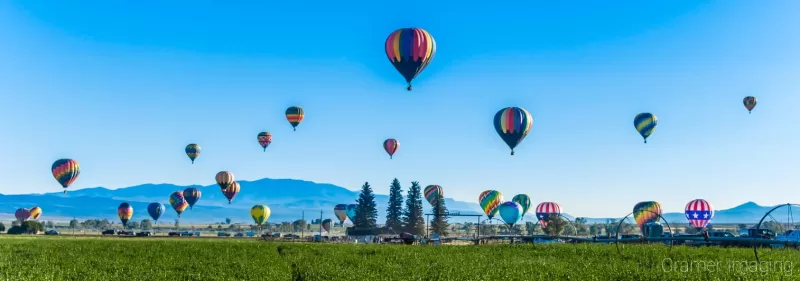
In this panorama, there’s plenty of ceiling room to catch all the hot air balloons while still zooming in close enough to bring more distant objects forward. The panorama gives proper respect to both the width of the view and the height which the balloons are flying at.
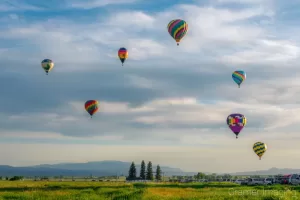
Attempting to capture this same scene with a landscape-orientated single shot would result in something much like this example below. It’s not the same. Stitching several of these landscape-orientated photos below won’t yield something like the photo above. Everything is smaller in this version. Elements might seem disconnected from each other. The landscape elements of the trees and mountains recede into the frame. A panorama generated from landscape-orientated photos like this one won’t fix things either.
I find that there’s a better way of dealing with situations like this. I simply turn my camera into portrait orientation and take several different exposures. Then I stitch them together. With this method, I’m guaranteed to capture all the height elements I want while still maintaining the magnification power I want too. This is one big reason I shoot my panoramas in portrait orientation.
If you study optics in physics, you will eventually learn about nodal points. If you shine an angled beam of light through a lens and down a tube, you will encounter nodal points. These are points where the beams of light focus. You can use them as pivot points to create a perfect panorama. One thing to note is that these nodal points move depending upon the length of the tube. This means that prime lenses have fixed nodal points and zoom lenses don’t.
If you don’t feel like doing all the math and investing in nodal point slides, then you’re likely to try and pivot your camera/lens on your tripod around a point which is not a nodal point. This will lead to bending and warping of the image. You will see it when you try and stitch things together. It won’t look right. Here’s an example of what typically happens to me.
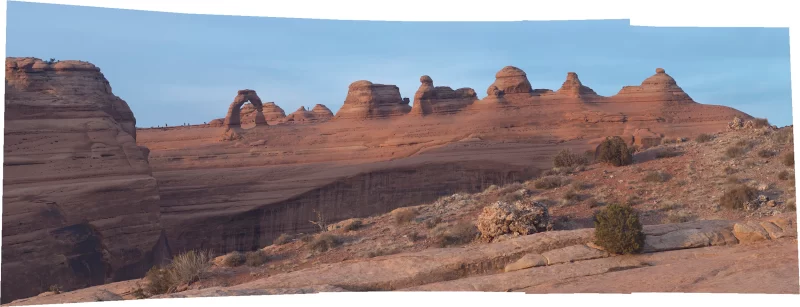
As you can see, this bow-tie-shaped image won’t work for a panorama without cropping. There’s too much white space. There’s jagged edges where the stitching didn’t line up quite right. This means I must crop some off the edges. So, I avoid losing as much of the scene as possible by shooting my panoramas in portrait orientation. I end up with an image which contains as much of the scene as possible. Thus, I can more easily crop things the way I want. I can even remove ultimately unnecessary parts of the scene. Here’s the final result.
As you can see here from the raw and final versions, I used both points discussed here to create this final image. This extra play room for cropping is another big reason why I shoot my panoramas in portrait orientation.
Since we’re talking about the benefits of shooting panoramas in portrait orientation, let’s place a couple of my pans side-by-side (so to speak) and compare. As I started shooting my panoramas in portrait orientation early-on in my photography career, I really have only 1 specimen to show off for landscape orientation. Here it is.

This beautiful sunset scene is a composite of 5 separate landscape-orientated images stitched together. In stitching them together like this, you can see that I didn’t have much room to crop vertically. Now, let’s take a look at another relatively comparable panorama shot in portrait orientation.
This obviously taller panorama is comprised of 16 different portrait-orientated photos stitched together. Also, there’s significant cropping at the bottom. Even with all of this, this image is still taller than the previous example which used 5 landscape-orientated photos.
In conclusion, shooting long panoramas in portrait orientation gives you much more flexibility with your panorama work. You can cover both the height and width of the scene while still giving yourself plenty of room to crop as necessary. One small downside is that your computer will need more time to process through stitching more images together. However, with today’s processing speeds, this really isn’t a problem like it used to be. Fifteen years ago (at time of writing), one of my classmates in photography sat for an hour waiting for the computers of the day to stitch together a 20 image panorama. This 16 shot pan took a matter of a couple minutes to stitch using today’s processing power (at time of writing).
With all of these pros and really no cons going for it, why not shoot your panoramas in portrait orientation? It really gives you the best and most flexible options for your panorama photography work. Now I turn things over to you. What do you think of this tip for panorama photography? Have you tried this technique before? How did it work out for you? Please leave your thoughts in the comments section below.

Receive monthly updates in your inbox from us.

Join our email-only photo of the week club to get the full stories behind how we captured our favorite fine art landscape photos.
We respect your privacy
No More Results