
Panoramas are a popular kind of photograph. After all, there’s nothing like the ability to capture a big wide sweeping view. Normal aspect ratios cannot capture such a view so easily. So, what do you do when you want to create a panorama photo? We’ll discuss that answer today.
If you want to create a panorama photo, then you have 2 different methods at your disposal. Either you can create a panorama in one photo or you create a panorama by stitching several different photos together. So, let’s look at both methods.
If you want to create a panorama in 1 photo, it’s easy. Simply crop the photo into the panorama dimensions you want. You can create a horizontal or a vertical panorama this way. Photoshop and Lightroom, along with other professional photo processing software, offer the ability to crop. Consumer-grade photo processing software offers cropping. Even your smart phone should offer the ability to crop a photo. The point is that you have options.
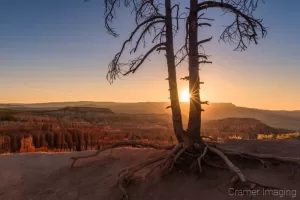
Here are a couple examples of times where I took a single photo and turned it into a panorama. I don’t currently have examples of vertical pans (short for panoramas). However, I do have a very few horizontal pans.
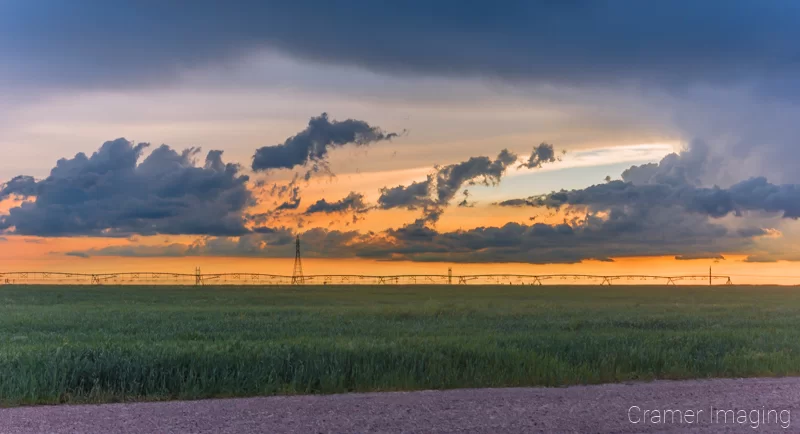
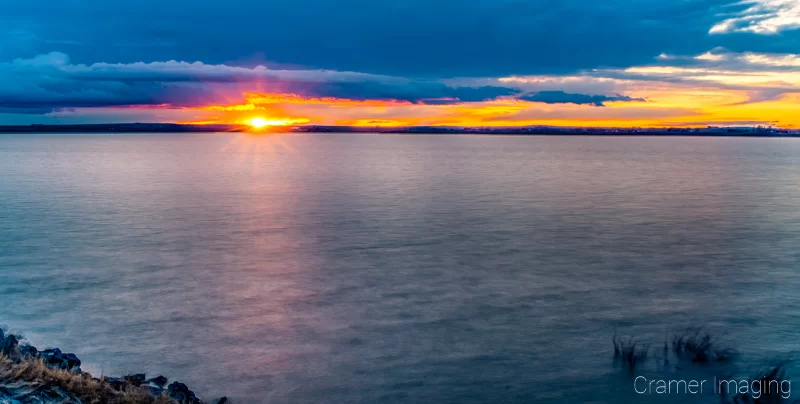
You can crop your single photo panoramas to any dimensions you want. Perhaps you notice that these pans don’t have the same dimensions. That’s just fine. There are no set dimensions for a panorama photo. Simply remove the unnecessary portions of the photo and leave what is important. Then you will have a panorama. That’s all there is to method 1.
The other option for creating a panorama is to take several different photos and stitch them together into 1 final image. You need some sort of processing software which can stitch images together. Photoshop can do so as can many other professional photo editing software options. After all, panoramas are popular in photography circles. To neglect this part of photography in a software package would be a grievous oversight.
As each software package is different in how to stitch a panorama together, I won’t go into details. I use Photoshop for my panorama stitching efforts. However, it won’t matter too much which software solution you choose. You will still start with several different individual photos (or frames) which look much like these.

Perhaps you notice that there is significant overlap between each individual frame. There’s are 2 good reasons for this.
Firstly, this overlap helps the software line things up much easier. As panoramas take time to stitch together, you want to help the computer out as much as possible. Keep in mind, the more frames you stitch together, the longer the pan will take to stitch. Slower processing speeds and larger file sizes won’t help matters either.
Second, if you happen to shoot a single frame out-of-focus for some reason, then the overlap from the surrounding frames can sometimes make up the difference. I’ve lost out on perfectly good panoramas because a single frame was out-of-focus and it ruined the entire image. A good rule-of-thumb for overlapping photo frames is at least 20% overlap on both sides (all sides if stitching multiple rows and columns of frames together).
Here’s what the raw panorama looks like when properly stitched and blended together.
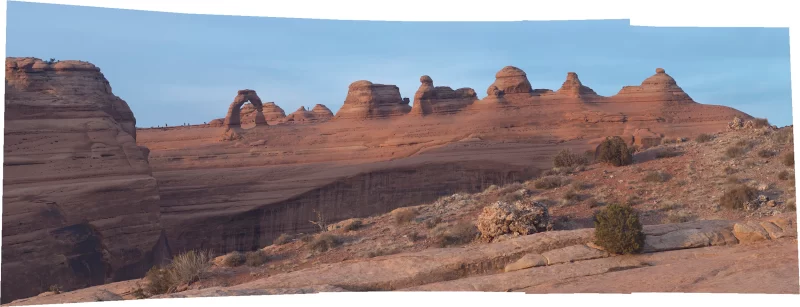
Here’s what the final panorama image looks like after I finished processing it up. I ended up doing some cropping to eliminate that bow-tie effect and remove parts which aren’t important to the final image.
This method will give you the best resolution panorama between either option. As you are stitching several different frames together, you combine all that resolution and make a much bigger final image than any one single photo can provide (even without cropping).
In conclusion, there are a couple methods to create a panorama available to you. You can crop a single photo into a panorama or you can stitch several frames into a single panorama using software. Either method will work to create a panorama. However only 1 method will give you the better resolution: the stitching method.
If you need some more information or perhaps some tips and tricks on creating a panorama, then you might check out this article on what orientation to shoot panoramas in. Also, try out this article on how to remember you shot a multi-frame panorama.

Receive monthly updates in your inbox from us.

Join our email-only photo of the week club to get the full stories behind how we captured our favorite fine art landscape photos.
We respect your privacy
No More Results