Depth of field is something which photographers talk about. It’s one of those vocabulary terms which beginners should learn. Also, it’s an element of a photograph. Since I’m a photographer, it seems only natural that I discuss the vocabulary term so that others can learn and better understand photography. So, let’s dive into what depth of field is.
As I said before, depth of field is part of a photograph. It defines what is in focus and what is not. As showing is easier than telling, let’s look at some examples of how this is applied in photography.

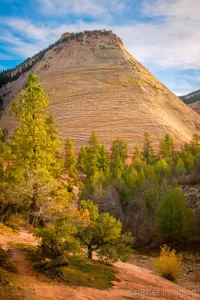


These examples each demonstrate a different depth of field. Some are deeper or more shallow than others. Can you tell the difference between a deeper and a shallower depth of field? Let’s explore the difference together.
Here’s what different depths of field are and some examples of each use case in landscape photography. Also, here’s a couple examples to help you see what I’m talking about.
A shallow depth of field is where the subject is in focus but not much else is. This often results in an out-of-focus/blurred background or even foreground.
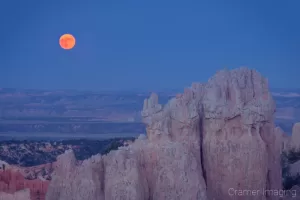

A deep depth of field is where the subject, foreground, and background are all in focus. This could result in a subject which blends into the background.

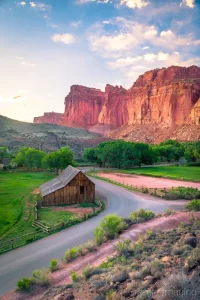
Ok, these are different landscape scenes. You might find it difficult to differentiate what the differences are between both definitions. So, let’s now look at an example of the exact same subject matter with both a shallow and a deep depth of field. These images should make things so much more clear.


Notice that the first example (left) blurs the books in the bookshelf where the second (right) doesn’t. In the first, the can full of writing utensils stands out from the background more than it does in the second. This is depth of field in action.
Perhaps the next question you have regards how depth of field works. That’s indeed a good question. Let’s dive into how it works.
 So, depth of field is completely controlled by the camera’s aperture. The aperture is a diaphragm which lets only a certain amount of light in through its central hole. By using the aperture of the camera, we can control the depth of the focal plane. A wider aperture (lower f-stop number) results in a shallower focal plane and a shallower depth of field. A narrower aperture (higher f-stop number) results in a deeper focal plane and a deeper depth of field.
This explanation often covers things for beginners. However, there’s more to it. Let’s see the exact optical mechanics which relates to depth of field.
We begin with the knowledge that all the light which makes up a photo must pass through the aperture. Also, we can control the width of the aperture for different depth of focal planes which results in different effects in the final photo. But how exactly does this work? Take a look at this diagram.
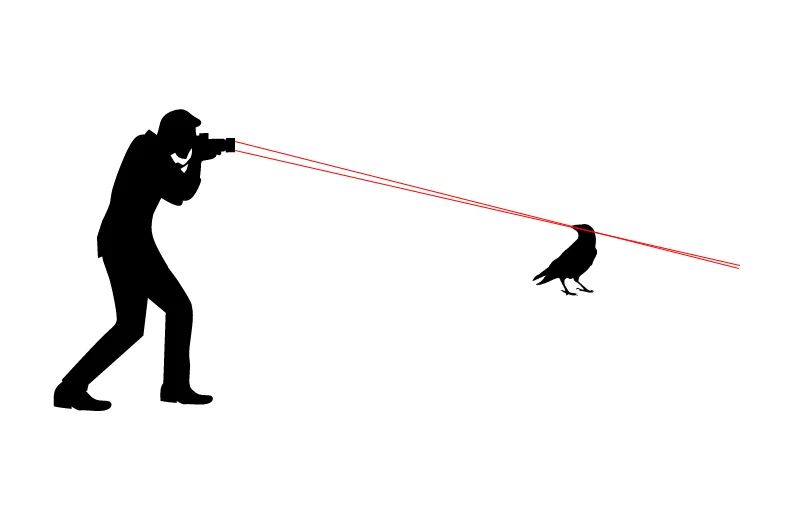
In this diagram, you see a man holding a camera and pointing it at his chosen subject matter: a bird. The bird is the obvious focal point which the photographer chose to focus on. The red lines represent the light passing from the focal point to the edges of camera lens. Where the red lines intersect, that’s where the camera is currently focusing. Anything close to that intersection point on the bird’s head, such as the rest of the bird’s body, will be in focus too. The more the rays diverge in either direction from the focal point, the more likely objects in those ranges will blur in the final image thanks to focus issues.
I know that the diagram above doesn’t fully convey what I’m describing. So, here are a couple other options for you. These diagrams show the exact same concept. They also use the same color-coding for convenience.
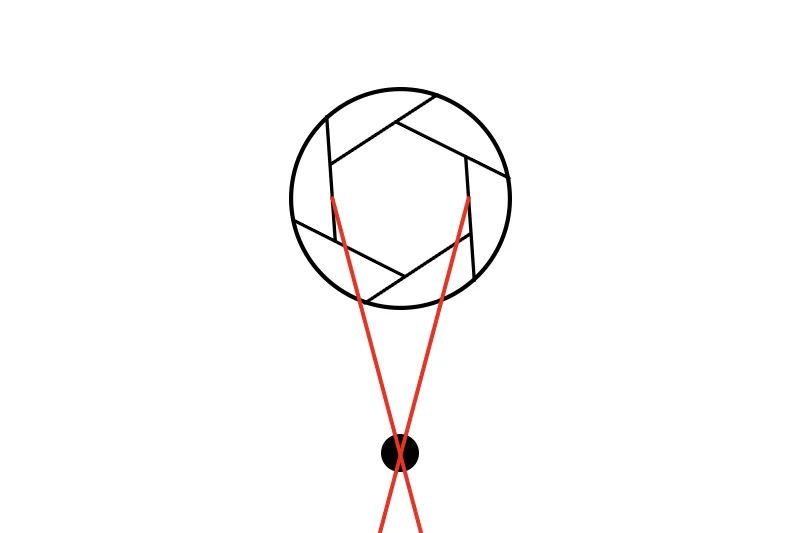
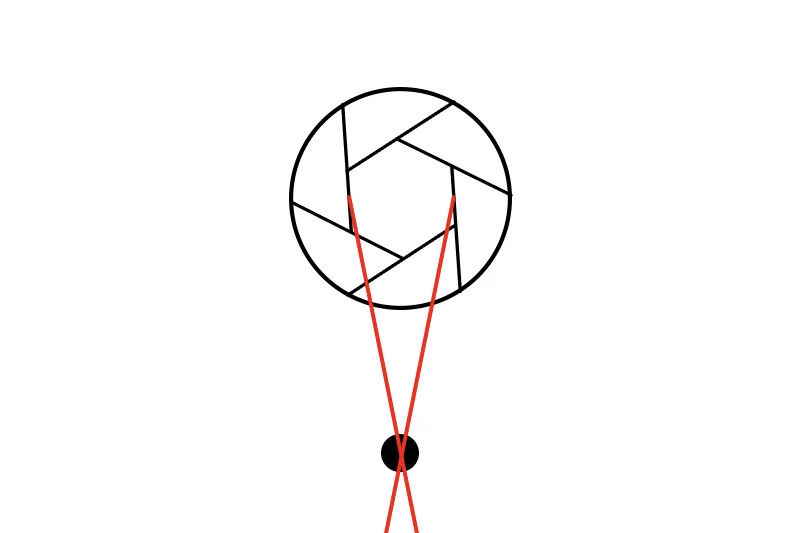
In these examples, the aperture and the black dot representing a subject (or merely a focal point) are in the exact same place. The only difference is how wide the aperture is. Notice that the wider aperture also has a wider red x shape than the narrower aperture does. As the rays in the second (right) example are closer together than the first (left), this means that other objects photographed with the second example will more likely be in focus than the first. This is because the narrower rays mean a deeper depth of field and a deeper focal plane.
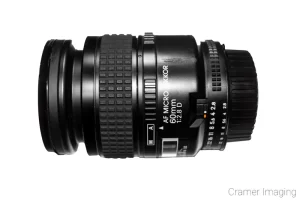
I must note that there are specialty lenses called macro lenses which do not conform to this standard. Macro lenses are designed to photograph incredibly small subjects. As such, they employ a razor thin focal plane and depth of field. But these lenses are the exception, not the rule.
So, now that we have a decent understanding of depth of field and how to manipulate it, you might naturally ask yourself why photographers would want to do so and what effects they might achieve in doing so. Those are both good questions. The answers are that manipulating depth of field can produce multiple effects, some considered good and some considered bad.

Whether or not each effect is considered good or bad by the photography community is often a matter of application. However, there are just plain bad effects no matter what you do. Now, let’s explore a couple options and how photographers utilize them.
Bokeh is an effect created by a shallow depth of field. It’s the term for that out-of-focus area in the photo. This area can be in the foreground or the background. Most often, photographers use bokeh to isolate a subject from the background and emphasize the subject in the photo. Wedding, portrait, and even wildlife photographers commonly use bokeh for this effect.



All three of these examples feature bokeh (in varying degrees) to isolate the subjects from their respective backgrounds. Now, here’s a couple examples with bokeh in the foreground.
So, here in the first example, the foreground bokeh is done right. It gives you a taste of what’s in front while not distracting you from the subject in the background. You really feel like you are there peering through the flowers to see the landscape in the background.
Alternatively, with the second photo, the leaf closest to the camera is out-of-focus. When properly applied, this technique can add interest to a photo. However, here, it feels more like an error. But, you may not feel that way. It may work for you. Art is subjective, after all.
Chromatic aberration is a problem which happens when you open the aperture up so wide that you start sending light in through the very edges of the glass. As those edges have different focusing properties from the center of the glass, the light ends up bending and warping differently there. This results in weird rainbow effects on the edges of subjects. No matter how you look at it, chromatic aberration is considered an error in photography. I dive much deeper into chromatic aberration in this article. Here’s a closeup of what chromatic aberration can look like in a photo.
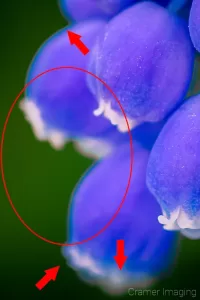
Happily, the only time you should run into chromatic aberration is when you’re trying for that ultra wide aperture. Perhaps you want a super shallow focal plane. Alternatively, you might want a photo of the Milky Way and need all the light-absorbing properties you can get from your lens in the dark. It doesn’t matter. You’re about guaranteed to encounter this problem if you open your aperture up fully.
So, in case you didn’t figure it out by now, I’m a landscape photographer. As such, I definitely consider depth of field in my photography. Often times, I use a deep depth of field in my work. If I don’t, then all my beautiful landscape scenes won’t work right. There will be too much blur where I don’t want it. You couldn’t discern landscape features properly. Just think of how these kinds of scenes would look if the background or the foreground were blurred out. They wouldn’t work right.
Here’s a couple more examples.
However, occasionally, I do find some use for a more shallow depth of field. When I, too, want to isolate a subject from the background, I employ that wider aperture. Observe how I isolated the famous Thor’s Hammer hoodoo from the surrounding landscape with a wider aperture and a more shallow depth of field.

So, in conclusion, depth of field is something we cannot escape in photography. The aperture controls it. Depending upon your choice of focal plane, you may find more or less of your overall photo in focus because of this. However, you can still use depth of field to your advantage. Indeed, you can create some unique and beautiful photos of any subject matter with proper utilization of depth of field in your composition. As you can also see, different photography genres have different uses for it.
So, now I turn things over to you reader. How have you utilized depth of field in your photography? What effects have you created? How do you like them? Also, what have others said about your work? Please share your thoughts and experiences in the comments section below. That way, we can all learn more together.

Receive monthly updates in your inbox from us.

Join our email-only photo of the week club to get the full stories behind how we captured our favorite fine art landscape photos.
We respect your privacy
No More Results
Powered by atecplugins.com